That all changed last weekend when I used my Silhouette machine, some clear vinyl, painter's tarp, and some of the Martha Stewart multi-surface paint to create this amazing pillow.

It turned out to be quite simple. I cut out two pieces of the painter's tarp (still the same tarp I've used for previous projects!) into 18" squares and ironed them flat. I used the Silhouette to cut out my desired shape (which, in this case, was "summer tree" from Silhouette Studio) and placed it on one piece of the painter's tarp. (There is no picture of this step, as clear vinyl doesn't photograph well.) Once the vinyl was in place, I mixed a couple of colors of paint to get the color I wanted and started using the sponge dabber to apply the paint. You can clearly see the vinyl.

When I was done, this is what it looked like. Using the clear vinyl, I can clearly see exactly where the painted image is in relation to the entire piece.
Then, because I was I was too impatient, I used a heat gun to accelerate the drying process and peeled off the vinyl. Doesn't it look fabulous?

The lines were pretty sharp and the paint really didn't bleed. (It did soaak through in places, though, so be sure to protect whatever surface you use.)

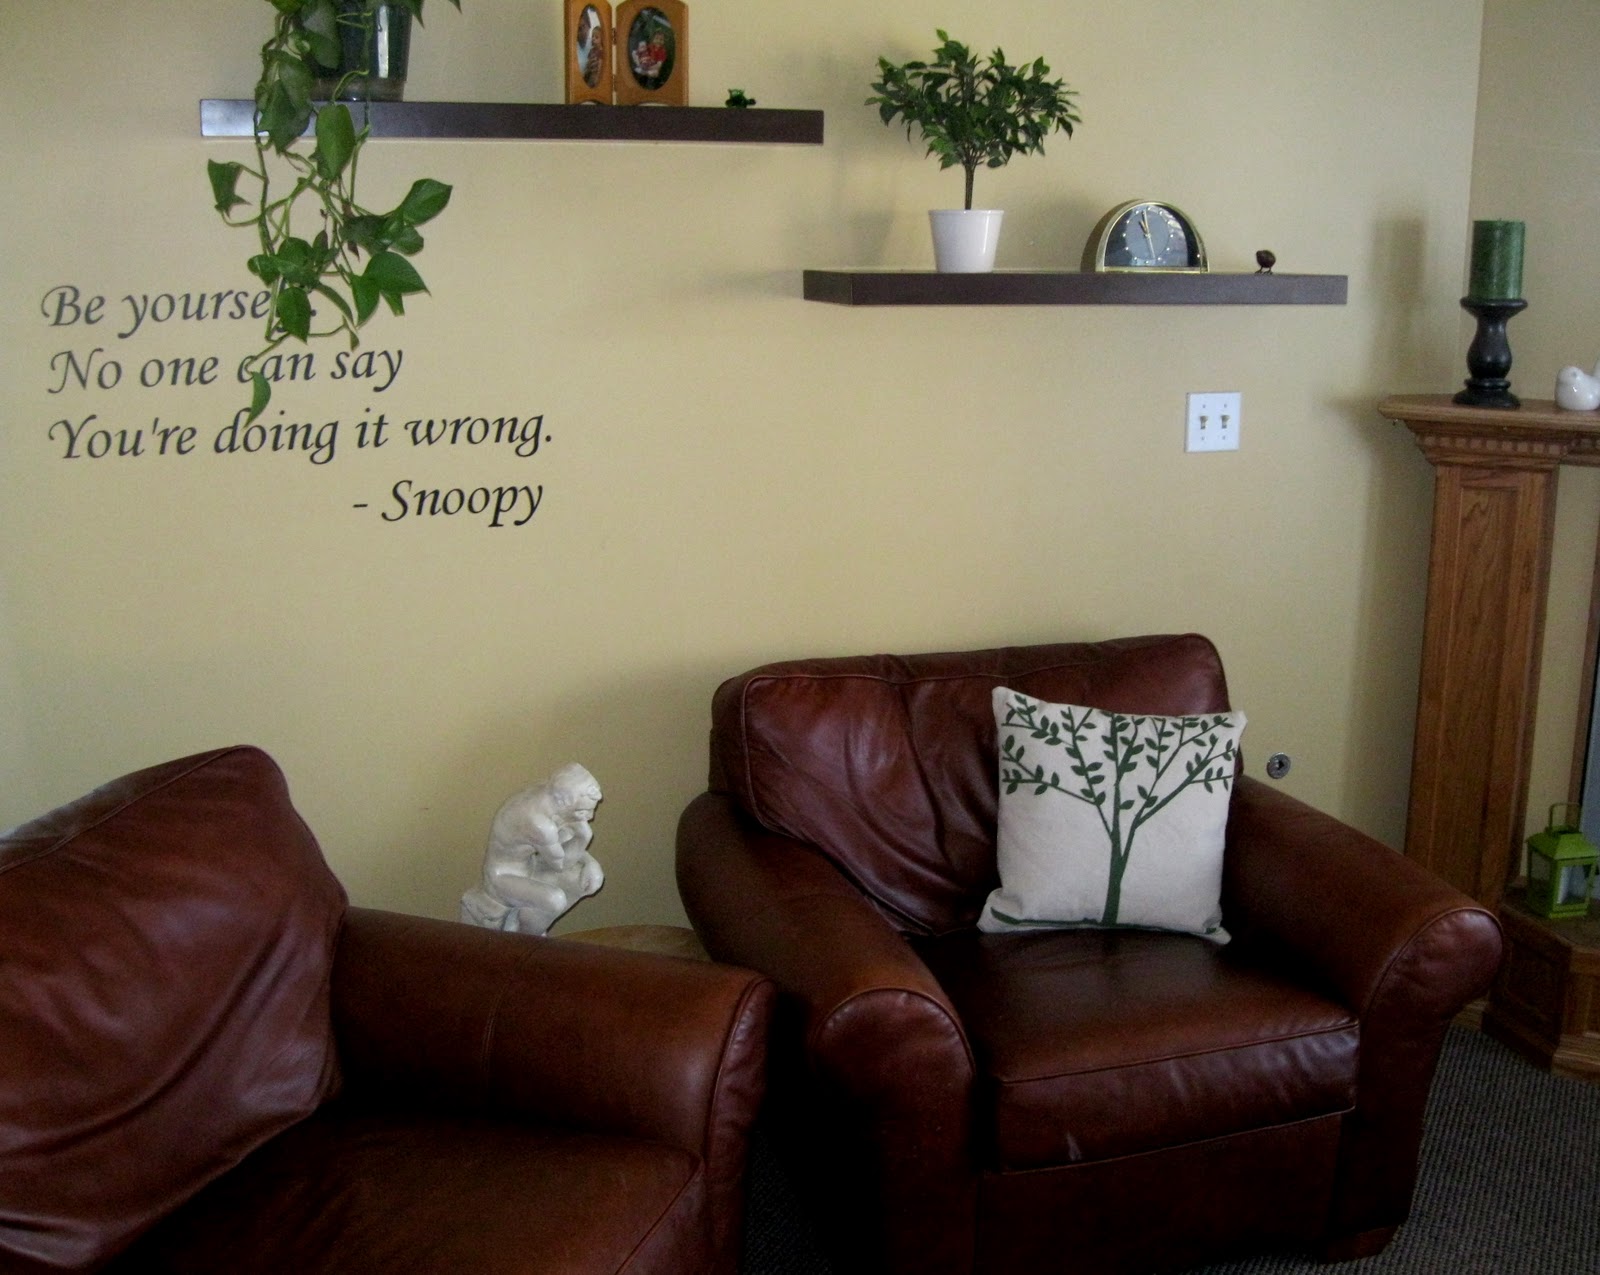
After that, it was quick work to stitch up the two sides and stuff the pillow.

Viola! My hand-painted pillow that my children say looks "just like you bought it at Pottery Barn". Really, what else is there to say?
2 comments:
It looks great and sounds so simple.... A Silhouette is on my list.. I can't wait to get one!
That turned out great! Kudos to you! BTW, are you on Pinterest? People pin lots of craft projects there that look like fun.
Post a Comment