Wednesday, August 8, 2012

Fabric Bins

I've been needing some more storage in our bathroom and thought fabric bins would be the ideal solution.  Unfortunately, I haven't been able to find bins I like.  While I was at Hancock Fabrics last week, I saw this fabulous fabric and thought it would be perfect.  (It wasn't, but that is a later part of the story.)
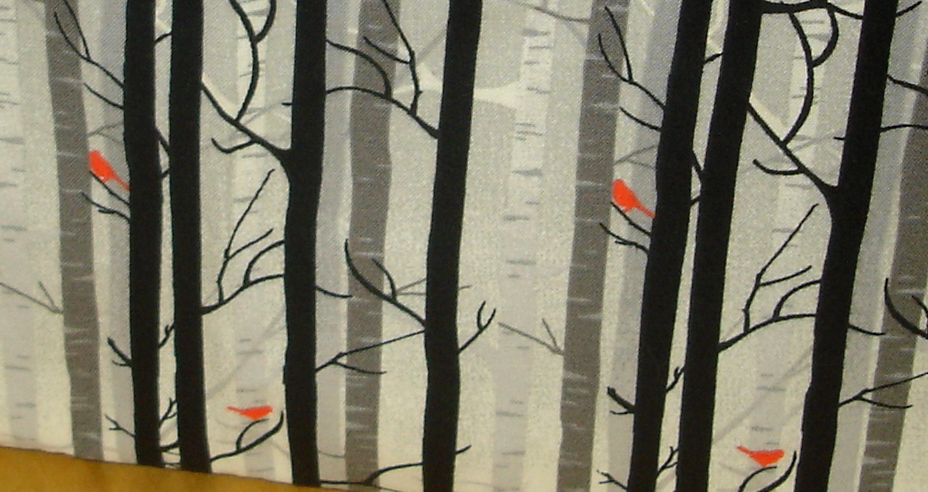
I love this fabric...it is so beautiful.
Isn't this fabric beautiful?  I knew it would make beautiful storage bins.

This was the second bin I made...it came together so quickly and easily.
I saw this tutorial for making fabric bins from Make It and Love It and I decided it was actually doable.  Honestly, it turned out to be a little more difficult than "beginner" level, but not so difficult that I was discouraged by it.  Once I'd made the first box (following the super terrific instructions), the second box was a breeze.

This is the larger bin...it is the size the tutorial makes.
It only took two evenings to get the boxes done.  I am really pleased with how they turned out and, once I'd finished the first box, I understood exactly what I needed to do to change the dimensions to suit my space.  Unfortunately, they just didn't look right in the space...darn it.

A different view of the first bin...I didn't put in a label pocket.
That's okay, though, I've already thought of an alternative use for both bins.  Even better, I found another fabric (a completely different style) that I'm getting ready to use for two more fabric bins. 

I just love, love, love this fabric!
So, what else can I do with this fabric?  I love it that much.  I'm racking my brains trying to come up with something I can do with it.  Do you have any ideas?

Tuesday, August 7, 2012

Doubling DVD Storage

Last week, I finally got around to doing a quick project that doubled our DVD storage capacity.   It is super easy and makes a huge difference.
This is our family room.
This is what our shelves looked like in January.   They looked good.   The truth is, however, the kids don't watch their DVDs very much anymore and I really didn't want to devote as much shelf space to them.  Still, I didn't want to put them under a bed or in storage bins.  I remembered seeing this this simple solution on Ikea Hacker, but I honestly couldn't direct you to the actual post...it has just been bouncing around in my head, waiting for the right time!

Adding a little shelf on top of the shelf allows me to go two deep on the shelf.
All you do is measure the width of your shelf and cut a board slightly less (to allow you to slide it into the shelving--I wanted a tight fit)...then you attach two "legs" roughly 3" (tall enough to let you read the titles of the DVDs in the back row).   My whole project was done with scrap 1 x 3 wood.  I Also, remember to take into account the height of your shelf...you might want to adjust them to give yourself more wiggle room.  After that, you just attach your legs to your board, and, ta da, you have doubled your DVD storage space.


By raising them up, you will still be able to read the titles, even with
another row of DVDs in front of them.
Once you've filled up the back row, all you need to do is fill up the front row.  Easy peasy!

Doubles the DVD storage space.
I know it isn't exciting, but it does help me manage DVDs I don't want to get rid of.

This is what it looks like with the double row.
Honestly, I can hardly wait to make a few more little shelves and do the same thing with our VHS movies.


Monday, August 6, 2012

What a Difference an Hour Makes...

Before:

Barely awake, but oh so excited.
After:

Much more awake and a mouth full of metal...
Yes, I'm happy to report that the third and final of our three children has her braces.  That means we're in the home stretch of Nagle5 orthodontics.  Woot!