Showing posts with label silhouette. Show all posts

Wednesday, February 6, 2013

Scrabble Valentine's Tiles

I wish I could find the blog that gave me this idea, but a quick trip through my Pinterest boards didn't reveal a pin, so it is going uncredited.  Still, just know I didn't think of this on my own.

Aren't these cool?
Anyway, bought these giant Scrabble tiles for family friends for Christmas and when Superman saw them, he said he could have made them.  Well, yes, he could have, but we don't have a router set up to route the individual letters, and besides, I'd already purchased the gift.

See the slightly routered edge?  I love how the grain of the pine is so clear.
Turned out, Superman was right.  These were a quick and easy project.  He made quick work of cutting "tiles" out of 1 x 6 pine board, finished the edges with his router, sprayed on a few thin coats of lacquer and handed them off to me.  


Since they were specifically for Valentine's, I decided to use
a font with more flourish than the actual Scrabble font.
(I think I actually spent more time playing with fonts on the Silhouette machine than he spent prepping the tiles!)  I applied the vinyl letters (with their appropriate points value, of course) and they were done.

Scrap wood and a little time gave us a really cool decoration!
Love them!   Best of all, we used scrap wood, had the lacquer, and the vinyl, so they were a free project!

Tuesday, January 29, 2013

Valentine's Craftiness

I saw this post of The Peanut Paintshop on Pinterest.  She's selling these and if you don't have the time or the inclination to make your own, you should head over to her shop at www.thepeanutpaintshop.com and buy some.

Still, I'm always on the lookout for new crafts, so I decided I had to make my own. 


Five $0.79 hearts from Hobby Lobby and $1.50 in ribbon from Hancock Fabrics and I was ready to go for less than $6.00.  We had the paints at home and Buttercup and I enjoyed an afternoon of crafting and chick flicks.  What could be better? 


The names are painted on, instead of using vinyl letters.
Anyway, I used my Silhouette machine to cut vinyls of everyone's names and used the negative space to create stencils.  (I could have just used red vinyl, but I decided to practice the whole "painting with stencils" instead.)   So, the names are painted on the hearts.
 
I played around with the colors of conversation hearts,
just made them deeper.
A quick clear coat and they were ready...I sewed the ribbon to a D-ring I had in my stash, stapled the hearts to the ribbon and, viola!, a super cute (and super inexpensive) Valentine's decoration.


Oh, and they turned out so well, I made another set for my sister-in-law, paying special attention to the baby arriving this summer. 


Boy or girl?  We've got it covered!

The names on the little hearts?  If it is a boy, my nephew thinks it should be named "Lightning McQueen" and if it is a girl, "Sparkles".   Works for me!


Doesn't every home office have an xBox?
P.S.  In case you're wondering what Superman was doing during all my craftiness, I'd have to say he was embarrassing his son...yes, he's trying get up to speed on the latest xBox games.  Valiant says Superman is a "noob", poor guy!

Tuesday, September 25, 2012

Unanticipated Bathroom Update - Quick Custom Art Project

Last year, I showed you the pictures of our bathroom redo here.  Nothing much changed in the ensuing months...until Superman came home on leave in June.  Remember these two little vases on the shelf?
RIP two little Ikea vases.  The previous "picture" was too little anyway.
  It was a mushy greeting card Superman had given me early in our marriage...
I loved it so much, I framed it and have it up somewhere in our house all the time
They were pretty, weren't they?  Well, in one move, Superman bumped the shelf with enough force to knock them both off the shelf and send them crashing to the floor.  Bye-bye, Ikea vases.  After Superman went back to work, I rearranged to make it look like this. 

There have been fires in the area for more than a week...look how the
quality of the light is altered by the filter of smoke.  Do you like my blank
wall?  I even left the nail in place to nag at me to come up with art for the space.
I left a big blank space under the shelf and waited for inspiration. Well, here we are in September and inspiration took its sweet time!!  Fortunately, Costco supplied the missing piece and the project came together in a day.


These frames are really nice...didn't think to take a picture before the project.
Inspiration comes in the strangest forms, doesn't it?
Saw these frames at Costco...11 x 17 with matte...two frames for less than $20, plus 100 free prints from Costco.  These frames, combined with thoughts that had bouncing around in my head, resulted in the perfect art piece for our bathroom.  All it took was a piece of fabric and a vinyl cutout and 20 minutes later, we had "art".


The card is on the shelf now and my new art is on the wall...this new arrangement
is so much better and I still have my framed greeting card...plus a gift from my
daughter...the little sheep (including the black sheep) were a present.  I love them.
Look at this.  All I did was tape a piece of fabric to the back of the matte and apply a vinyl cut-out to the front of the fabric.  (I didn't even use iron-on vinyl.  This is just standard vinyl...Oracle 631 from Expressions Vinyl.)  I tucked the end of the branch under the matte to make it look like the branch was coming out from behind the matte.  After that, I put it all back together and put it up on the nail that was still in the wall. 

The original nail was too low, so I moved it up an inch.  Plus, the picture
was missing a little something.  It needed just one more thing.  Do you see it?
I love how it turned out.  Unfortunately, the nail wasn't in the right place, so I have a new nail hole (sorry, Superman!).  Plus, I think picture was missing a little something...it wasn't quite perfect.

There!   See?  I added a tiny heart above the birds.  The perfect
finishing touch!  Now, my project is just perfect.
Ah, now it is perfect!  I love the way this project turned out.  The nubby fabric and the smooth, matte vinyl look elegant framed with a picture matte.  I have one more frame...I need to find another place that is crying out for an art project!

Monday, September 24, 2012

Easy "Milk Bottle" Vase

This post is actually for my friend Karen (and her daughter, Jessica) who sent me a note saying she needed some "repurposing" ideas for a class they'll be hosting this spring.  So, Karen and Miss Jessica, I hope you like this one!

My sunshiny kitchen window...
A couple of years ago, I purchased these teeny, tiny milk bottle vases from the Dollar Spot at Target.  I just loved their simplicity.  I put them on my kitchen window sill and used them to decorate for the seasons/holidays.  Occasionally, I'd wish they were bigger, but they weren't, so that was that.


Cute, but limited by their teeny size.
This past winter, my daughter went through a phase where she was drinking Starbuck frappuccinos with far too much regularity (yes, I know I'm a bad parent...I've accepted it and moved on!).  One day, as I was collecting the bottle(s) she left out (grr!), I realized they looked like little milk bottles and an idea was born.

Doesn't this look like a milk bottle?

First things first, I removed the labels from the Starbucks bottle.  They peel off pretty easily, but you'll definitely need Goo Gone to get the adhesive off the glass.  After that, I put them through the dishwasher to get them sparkly clean.


After a few coats of spray paint.
Then I filled a large can (a #10 can worked well) with sand (for weight/counter balance...clean kitty litter would work well, too) and stuck some dowels into it.  (Picture a bizarre barren bush.)    Put the bottles on the dowels upside down and spray paint the bottles.  It took a few thin coats to get good coverage. 

Before and After
When I was done, I had little white milk bottles.  After that, a few minutes with the Silhouette machine and I'd created bigger versions of my tiny milk bottles.

After adding Silhouette vinyl.  (Sorry for the photo quality...I took the
picture late one night.  Doesn't everyone finish crafty stuff late at night?)
There you have it, a quick and easy and virtually free repurposing idea (assuming you have a Frappuccino junkie in your house).   Karen, do you like this one?  Look again, doesn't this get your creative juices flowing?
Virtually free...
P.S.  Even after all these years, I still miss being your neighbor!!

Friday, July 27, 2012

Personalizing Camp Chairs and a Cooler (another Silhouette project)

When we were helping out for an all day event last weekend, I brought our camp chairs and a cooler, as I knew we'd be there for the long haul.  I personalized our cooler with vinyl before we left, but it wasn't until we got to the park that I realized I could personalize the camp chairs with heat-transfer vinyl.

Personalized camp chairs...
Here is the cooler.

The vinyl makes it easy to see our cooler from across the park.
I just wanted a way to pick out our oh-so-unique Playmate cooler from all the other Playmate coolers.  Adding our name was quick and easy and quite visible. I used "outdoor" vinyl (Oracle 651) to make the vinyl more permanent.

Pretty clear who these chairs belong to, isn't it?

The camp chairs are backpack-type chairs, so they have these nifty (and easily accessible flaps) that lent themselves to iron-on vinyl.  I was worried that the man-made fabric would melt, but it was just fine.  I think they turned out so well, I'm quite pleased.  I wonder if I can personalize our other camp chairs?  Hmmm...

Finally, to make you smile, I thought I'd show you how Beans beats the heat:

Looked over one day last week and saw that Beans had planted
herself right in front of the air conditioner vent.  Smart kitty!
Pretty smart kitty, isn't she?

More yard work and some back-to-school shopping...it was a productive day in the neighborhood!

Sunday, July 8, 2012

Phase 1 of our "Big" Kennel Project is completed...Day 116 of our Productivty Project

A few days ago, I left Superman a hair raising status update on FB detailing how I'd spent the afternoon and evening in the garage playing with just about every power tool we own, plus paint.  I think he nearly had a heart attack, especially after I wouldn't tell him what I'd been working on.
Phase 1 - Finished!
I've finally done the last of the painting, so I can say we've finished Phase 1 of the Big Kennel Project and I'm ready to share the pictures of our progress to date.

This is where we began:


Dog kennel:  Unfinished dry wall, exposed insulation (thanks to Lucy!)
Unfinished fence boards to protect the drywall from the chewer (aka Lucy).
Basically, it was a terrible eyesore.

Honestly, the dog have never complained, but it was certainly an eyesore.  I've been promising Buttercup that I'd do something about it for more than a year and my productivity project seemed to have been the perfect motivation.  Still, we had the self-imposed constraint of using stuff we already had laying around to manage our transformation.  This had to be a completely free project.

Step 1 - Buttercup was itching to get painting, so I handed her the "mango madness" left from our formerly "Macaroni & Cheese" basement and set her free.

Buttercup makes quick work of the painting.
She made quick work of it, even with it needing two coats.  (We didn't primer first.)  After that, I got to work with the "construction" part of the project.

This wall needed to be insulated, so I used a box
cutter and a knife and cut a piece of rigid insulation to fit.
Since my plan was to use the leftover wainscoting from our bathroom project, I added 1x1 for structure.  The nails needed somewhere to go, right?


After that, I pieced together the wainscoting and installed it all.   The fiberglass insulation was fine, it just needed to get tucked.

It was hotter than heck in that get-up, but those are my "grungies", so that
is how I geared up for this project.  (Plus, I used my nifty work gloves my
sister sent me...they really project your hands, but your exposed fingertips
make working in them a breeze!

This is how the wainscoting part of the project turned out.  Doesn't it look fabulous?

Finished wainscoting and trim board...
After that, I added some trim boards and moulding, painted the fence boards, and added a decal for fun.
A few coats of paint did wonders for these boards!
 Phase 1 finished and we did it all with scrap materials we had in the garage.  It was a great way to get more familiar with all of our power tools.  Phase 2 will be astroturf, a new food dish holder, and a new dog bed.  Oh, as I'm looking at the picture, I'm thinking ceiling paint should be added to the list, too!

Phase 1 is Finished, but Phase 2 is bouncing around in my mind.

116 Days and counting til Superman comes home.  I'd say we get to count this one as productive, too, wouldn't you?

The Conclusion of the Holiday and a Cool New Shirt

Patriotic deck...love the view...we've been lucky that no one has built in
the field behind us the entire time we've lived here.  I know it is coming,
but for now, I remain oh so grateful for our amazing view.
I keep my patriotic decor up from Memorial Day through Independence Day...kind of a festive welcome to summer.  After July 4th, however, I'm definitely ready to put it all away.  So, in a little bit of productivity for the day, I got it taken down and put away for next year. 

Until next year...
Hmmm...I'm thinking pinwheels for the remainder of summer.  Wouldn't those be fun, festive, and inexpensive?  Here is a quick and easy DIY tutorial.  I love it.  What do you think?

Anyway, moving right along.  I should have been working in the yard today, but realistically, that is going to wait a week...there is nothing that needs to be done urgently enough that I'm going to brave 100 degree weather to do it.  Nope, just not doing it.  Instead, after a morning spent running errands like getting another package off to Superman, after Valiant headed off to work, Buttercup and I retreated to the basement where it was nice and cool, even without the air conditioner on.

Cleaned my desk, ironed some napkins, and watched "My Cat from Hell".  Love that show.  Jackson seems to really care.  I'm just astounded by how little common sense people have.  Then again, I'm a cat person, so maybe obvious to me isn't obvious to non-cat people.
In the meantime, I needed to keep busy in the basement.  I'm not good at sitting around doing nothing.  I had one more plain t-shirt in Valiant's size and I knew just the image that would bring a smile to his face.  So, I got out my Silhouette machine and some heat-transfer vinyl and got to work.
Heat transfer vinyl is so cool!  Just remember to cut the mirror image of your
final look...
Once I cleaned up the image, I flipped it so I had a mirror image and sent it through the Silhouette.  A few minutes weeding the excess vinyl and I was ready to iron it on.
Ironing it on takes 30 seconds...
A few minutes later, I had a finished product designed to appeal to a teen-aged boy. 

"Everyday, I'm Shufflin'"...
When he came in from work, the smile on his face told me that Valiant did, indeed, like his new shirt.

Day 117.  Another day closer to Superman coming home and I was successfully productive again!  Woot!

Tuesday, June 12, 2012

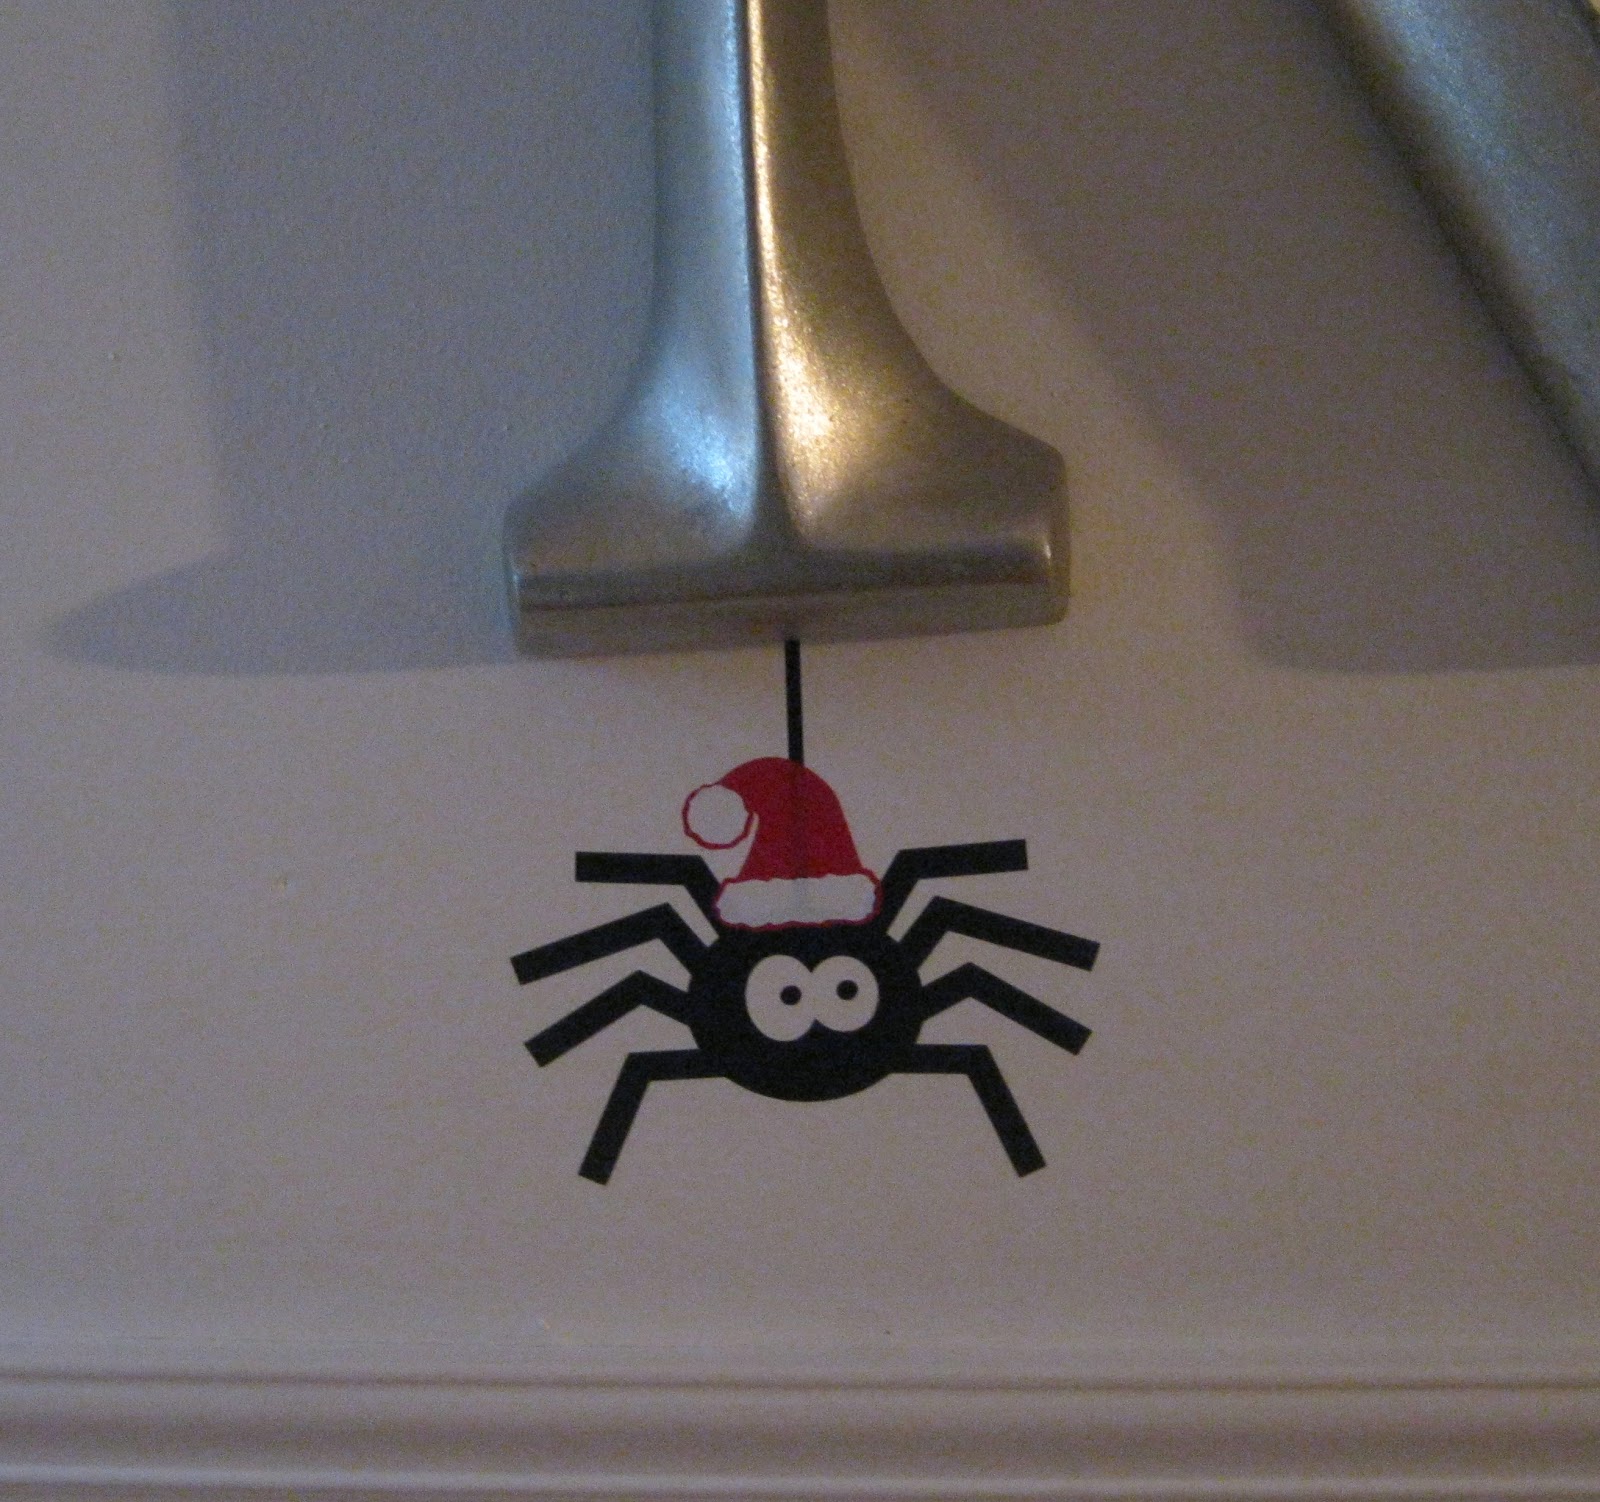
Our spider seems to know what is going on...

Our spider has grown on us since it joined our household at Halloween. 
Not content to be a Halloween spider, he's become sort of a mascot.
Firstly, it convinced me to leave it up when all the other Halloween decorations came down.  Then, it joined in on the holiday decorating.

Nice Santa hat...right in the spirit of the season.
Then, it convinced me that it had thoughts to share.  Simple holiday thoughts.


Thoughts of love filling the air...
Love at Valentine's...

Spreading the luck o' the Irish...
Shamrock's at St. Patrick's Day...

Spring is in the air...
Then, the thoughts became seasonal...tulips in spring.   Honestly, I was expecting a beach ball or sunglasses for summer.  I was wrong...


But the family spider surprised me again.  It must have used its "spidey senses" and it knew...

Even fewer days now...we're all so excited!

Wednesday, May 23, 2012

Silhouette Madness...More Labeling Because I Can...Plus a Frugal Tip

I have been having fun with my Silhouette Machine again.  This time, I headed back to the laundry room and the kitchen.  I know, I know...labeling your laundry room?  Really.  Oh, yeah.


Hey, I spend a lot of time in my laundry room.  Don't you?  I'd already gotten rid of the boxes in favor of these cool cannisters, but they needed a little more.


To cut the cost of this project, I used black contact paper instead of black vinyl for the badges.  (You can use black contact paper for "chalkboard" vinyl, too, it is just not quite matte.) Then I just topped them off with white vinyl lettering. 

Love how the white vinyl pops off the black!
I think they turned out really well.  I love how fun, yet simple they look.

Then, a few days ago, I found this awesome soap dispenser at World Market.  It is glass...and it is Mrs. Meyer's so it smells divinely...truly, isn't it fabulous? 

Mrs. Meyer's Wash Up - Love This Dispenser!
With the cool soap dispenser on the one side of the sink, I decided to add a little focus to my dish soap dispenser.  I love this dish soap dispenser.  I've had it for years and years. 

Just jazzed up with some basic black lettering.
(Can you tell I don't like the original packaging that most things come in?  Seriously...I switch out my laundry stuff, I switch out my liquid soaps...maybe I have an issue?  Nah...)

Finally, here is my frugal tip for you.  If you work with the vinyl cutters (Silhouette or Cricut), you know the challenge of weeding the excess vinyl (or the paper or fabric you've cut).   I've been using an exacto knife, but sometimes the fine work was challenging.  I was really tempted to buy one of those weeding tools that go for upwards of $14 on the websites when it occurred to me that I could get exactly what I needed at my local Walgreens for about $4.   

 
For a lot less money, you can use drugstore dental tools to weed your vinyl!
Did you figure it out?  They're drugstore dental tools!  You can easily use your handy-dandy dental tools to weed.  Pretty cool, right?  Yeah, I thought so!