Showing posts with label vinyl. Show all posts

Wednesday, February 6, 2013

Scrabble Valentine's Tiles

I wish I could find the blog that gave me this idea, but a quick trip through my Pinterest boards didn't reveal a pin, so it is going uncredited.  Still, just know I didn't think of this on my own.

Aren't these cool?
Anyway, bought these giant Scrabble tiles for family friends for Christmas and when Superman saw them, he said he could have made them.  Well, yes, he could have, but we don't have a router set up to route the individual letters, and besides, I'd already purchased the gift.

See the slightly routered edge?  I love how the grain of the pine is so clear.
Turned out, Superman was right.  These were a quick and easy project.  He made quick work of cutting "tiles" out of 1 x 6 pine board, finished the edges with his router, sprayed on a few thin coats of lacquer and handed them off to me.  


Since they were specifically for Valentine's, I decided to use
a font with more flourish than the actual Scrabble font.
(I think I actually spent more time playing with fonts on the Silhouette machine than he spent prepping the tiles!)  I applied the vinyl letters (with their appropriate points value, of course) and they were done.

Scrap wood and a little time gave us a really cool decoration!
Love them!   Best of all, we used scrap wood, had the lacquer, and the vinyl, so they were a free project!

Thursday, January 31, 2013

Can't Believe January is Already Finished!

Can you believe it?  We're already done with January and heading into February.  The holiday decorations have been packed up for almost a month and spring seems to be right around the corner.  I can't believe it.  Tonight I'm pulling down my New Year's decorations, but before I do, I thought I'd let you see them.

"Be always at war with your vices,
at peace with your neighbors,
and let each new year find you a better man"
--Benjamin Franklin
 
First, our inspirational quote...this quote replaced "'Twas the night before Christmas..."   (You can still see the North Star left from the Christmas quote.)  Now it is time for me to come up with a quote about love for Valentine's.

Nice photo, right?  (Not!)
These little Ikea tea lights are a perfect place to add seasonal sayings.  Different fonts, different sayings, different looks.


Loved how this project turned out!

Finally, this actually turned out to be my favorite "decoration".  I used 3M stickers to put a poster board with the heading "In 2013, I'd like to..." on the wall, put out a box of sharpies and left my family to do what they chose.  It was so fun to see what each of us wanted to do...

Sewing, computers, savings, rock climbing, and
deadlifts, butterfly pull-ups, reading more...it is a varied list.

Everything from better performance at the gym and saving money...

Horses, gardens, vegetables, savings, a pull-up, a muscle up, single-unders.
Then, there are the specific ones: 6:30 mile, 350 deadlift (yeah, right!), etc.
To improving other skills and gaining new one...I loved "get even more cats"!  It was really great to see what everyone was interested in as the month progressed.  What will be even more interesting?  To see how much we have accomplished by the end of the year!


Tuesday, January 29, 2013

Valentine's Craftiness

I saw this post of The Peanut Paintshop on Pinterest.  She's selling these and if you don't have the time or the inclination to make your own, you should head over to her shop at www.thepeanutpaintshop.com and buy some.

Still, I'm always on the lookout for new crafts, so I decided I had to make my own. 


Five $0.79 hearts from Hobby Lobby and $1.50 in ribbon from Hancock Fabrics and I was ready to go for less than $6.00.  We had the paints at home and Buttercup and I enjoyed an afternoon of crafting and chick flicks.  What could be better? 


The names are painted on, instead of using vinyl letters.
Anyway, I used my Silhouette machine to cut vinyls of everyone's names and used the negative space to create stencils.  (I could have just used red vinyl, but I decided to practice the whole "painting with stencils" instead.)   So, the names are painted on the hearts.
 
I played around with the colors of conversation hearts,
just made them deeper.
A quick clear coat and they were ready...I sewed the ribbon to a D-ring I had in my stash, stapled the hearts to the ribbon and, viola!, a super cute (and super inexpensive) Valentine's decoration.


Oh, and they turned out so well, I made another set for my sister-in-law, paying special attention to the baby arriving this summer. 


Boy or girl?  We've got it covered!

The names on the little hearts?  If it is a boy, my nephew thinks it should be named "Lightning McQueen" and if it is a girl, "Sparkles".   Works for me!


Doesn't every home office have an xBox?
P.S.  In case you're wondering what Superman was doing during all my craftiness, I'd have to say he was embarrassing his son...yes, he's trying get up to speed on the latest xBox games.  Valiant says Superman is a "noob", poor guy!

Wednesday, May 23, 2012

Silhouette Madness...More Labeling Because I Can...Plus a Frugal Tip

I have been having fun with my Silhouette Machine again.  This time, I headed back to the laundry room and the kitchen.  I know, I know...labeling your laundry room?  Really.  Oh, yeah.


Hey, I spend a lot of time in my laundry room.  Don't you?  I'd already gotten rid of the boxes in favor of these cool cannisters, but they needed a little more.


To cut the cost of this project, I used black contact paper instead of black vinyl for the badges.  (You can use black contact paper for "chalkboard" vinyl, too, it is just not quite matte.) Then I just topped them off with white vinyl lettering. 

Love how the white vinyl pops off the black!
I think they turned out really well.  I love how fun, yet simple they look.

Then, a few days ago, I found this awesome soap dispenser at World Market.  It is glass...and it is Mrs. Meyer's so it smells divinely...truly, isn't it fabulous? 

Mrs. Meyer's Wash Up - Love This Dispenser!
With the cool soap dispenser on the one side of the sink, I decided to add a little focus to my dish soap dispenser.  I love this dish soap dispenser.  I've had it for years and years. 

Just jazzed up with some basic black lettering.
(Can you tell I don't like the original packaging that most things come in?  Seriously...I switch out my laundry stuff, I switch out my liquid soaps...maybe I have an issue?  Nah...)

Finally, here is my frugal tip for you.  If you work with the vinyl cutters (Silhouette or Cricut), you know the challenge of weeding the excess vinyl (or the paper or fabric you've cut).   I've been using an exacto knife, but sometimes the fine work was challenging.  I was really tempted to buy one of those weeding tools that go for upwards of $14 on the websites when it occurred to me that I could get exactly what I needed at my local Walgreens for about $4.   

 
For a lot less money, you can use drugstore dental tools to weed your vinyl!
Did you figure it out?  They're drugstore dental tools!  You can easily use your handy-dandy dental tools to weed.  Pretty cool, right?  Yeah, I thought so!

Tuesday, February 7, 2012

Organizing Season: Tackling Visual Distractions

Have you ever heard of the concept of visual distractions as it applies to the home?  You might well have heard about it if you've dealt with a child who has ADD/ADHD or if you've been involved in getting a classroom ready for 30 students.  They even talk about it in the workplace. As for me,  I had never heard the phrase before a friend mentioned it in relation to her child's ADD and her need to combat visual distraction in his homework zone.    When I heard that phrase, a lightbulb went on in my head.  Finally, an explanation for why I work so hard to keep my house organized.

Visual (n):  Seen or able to be seen by the eye.

Distraction (n.):  something that diverts attention; something that interferes with concentration or takes attention away from something else. 

So, a visual distraction is anything you see that diverts your attention away from something else.  In your home, that can be too much stuff, stuff in the wrong place, stuff that isn't finished, and even not enough stuff or not the right stuff.  Think about it.  A visual distraction is a discordant note for your eyes.  You "see" it all the time, to the point that you can be blinded to everything else.  Alternatively, you can stop "seeing" it to the point that you don't notice it at all...no matter how big and distracting it really should be.

Think of it like this: Driving down a country road, you see trees and greenery. The occasional cow or horse brings a smile to your face. You notice more...you actually see more of what you're looking at. Looking around is actually calming. Driving in the city, on the other hand, you're bombarded by billboards, street signs, speeding cars, and storefronts. You literally can't take it all in, so you start shutting it out. You deliberately "don't see" what you're looking at because it is all too much...you simply can't process it all, so you don't. Definitely not relaxing.

The same thing happens in our homes. In our hurry-up lifestyles, clutter-filled surfaces become distractions so great we don't allow ourselves to see them out of self-preservation. The flyer from the kids' school, permission slips, homework to be looked over, the newspaper, the magazines, the stack of bills, yesterday's dishes, the overflowing trashcan, the pile of clean clothes, the pile of dirty clothes, the toys on the floor, the carpets that need to be vacuumed, the dust on the shelves, the smudges on the mirror, the cluttered bathroom counters, the dirty toilets...it all feels like too much, so we stop looking. We have to in order to go about our business with any sanity. The only problem is that eventually, as we avoid dealing with the visual distraction, the space we can still "see" becomes so small, we don't fit in it.  So we head out...we shop in nice big clean stores...we eat in clean restaurants...and suddenly, are homes aren't homes anymore.  They're way stations...

Now, I'm truly not OCD and no one in my family has been diagnosed ADD/ADHD (I'm not swearing that no one suffers, though.).  Through trial and error, though, I have discovered that I simply cannot function in a house with a lot of visual distractions.   It takes very little messiness to throw me for a loop...so, I try not to let that happen.   Even more importantly, I've discovered my children function far better with orderliness...clean lines, empty surfaces, etc.  For example,  I can't watch a movie with my family if the room we're to sit in is messy.   I can't sit down to read in a room that needs attention.   I simply can't relax.  I can't sit down to study in a room that is untidy.  (Man, oh, man, was my house clean when I went back to school to finish my degree!)  I have trouble writing blog posts if my desk is messy, even if it is messy for a good cause.  (Hey, it can happen!) 

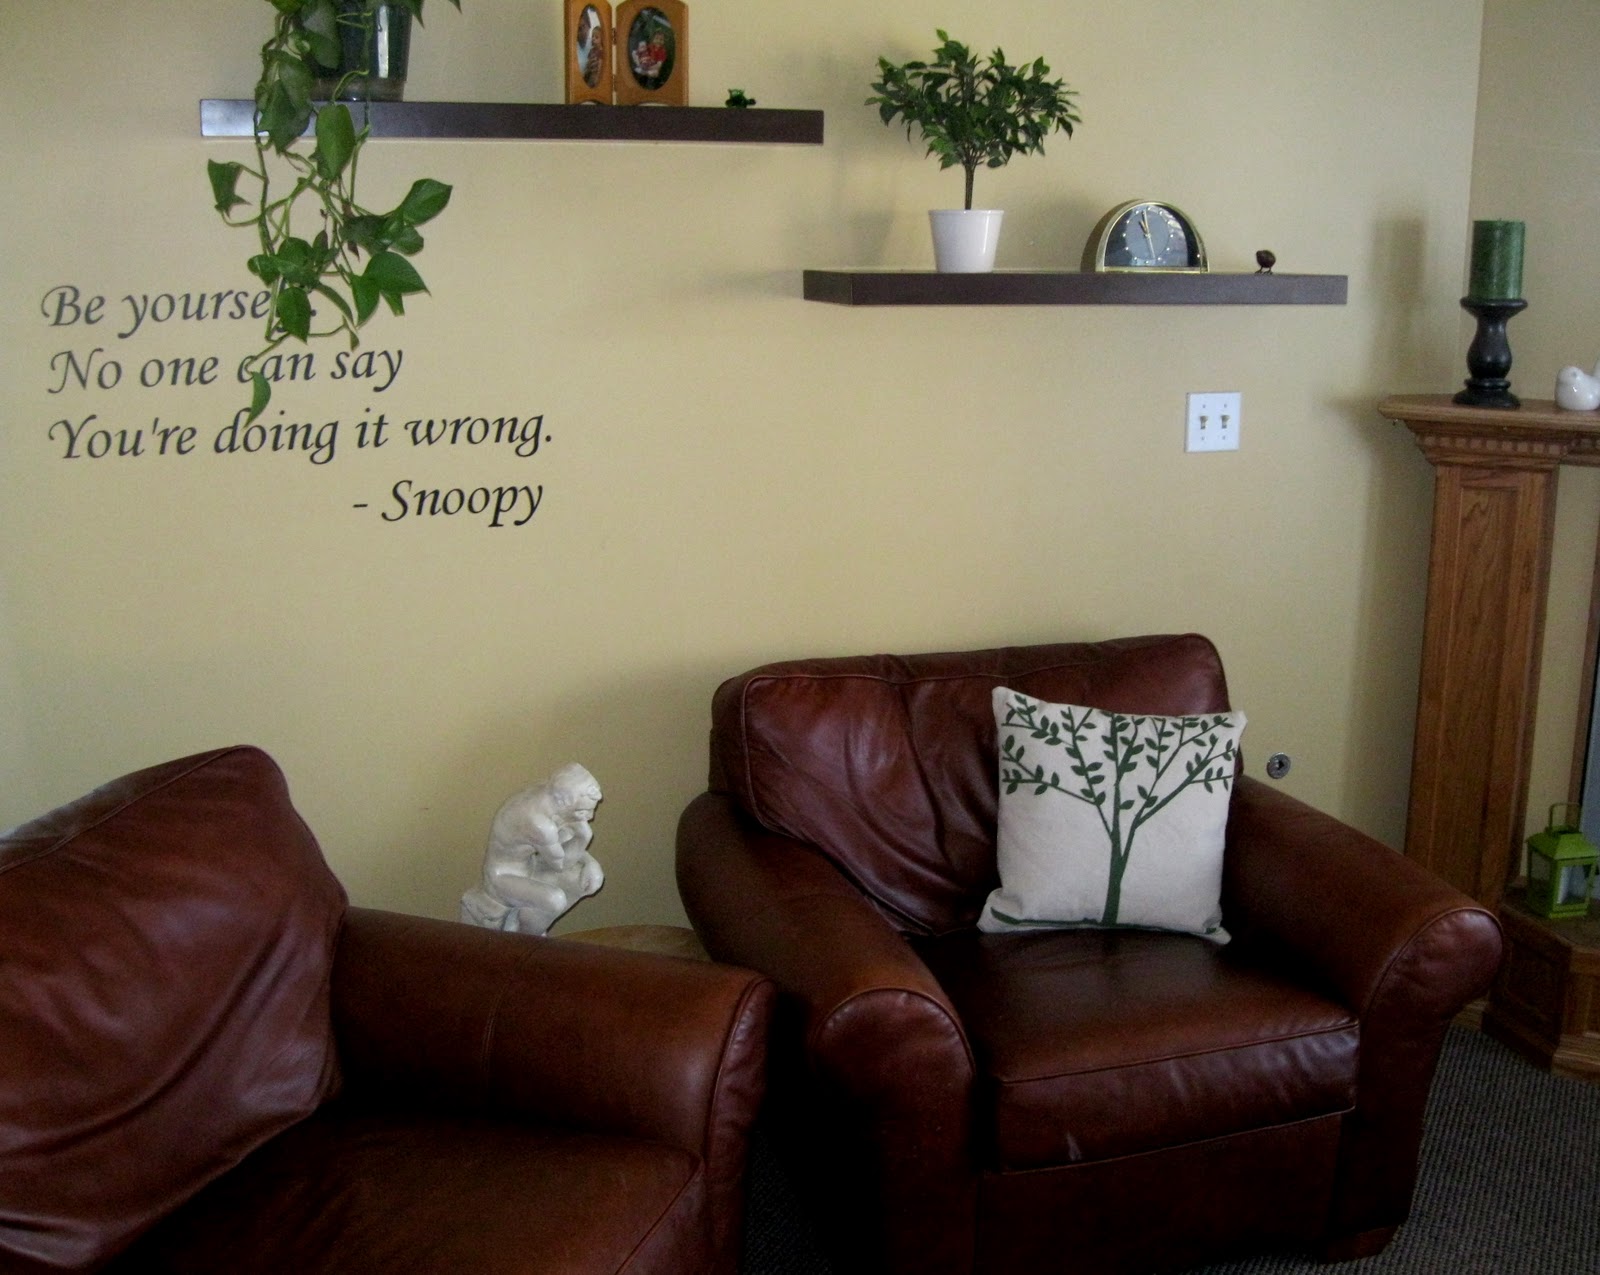
For me, a harmonious home is all about minimizing visual distractions for all of us.  I like to decorate with clean lines (no ruffles, please), simple patterns, and colors that flow.   Let me be perfectly clear:  IT IS NOT ABOUT PERFECTION.  It is all about making a home that truly works for you, not one that you work around.   The macaroni and cheese room was fun for the kids, but it got very tiresome very quickly.   Suddenly, I realized I was working around it...I wasn't enjoying it at all...time for the orange to go.  Now the room works again.   Have you ever wondered why you feel so good after tackling a big clean-up project?  Being productive feels good, but looking around and seeing everything in place actually calms your mind.  Think about it...you know I'm right.

So, what does this have to do with Organizing Season in my house this year?    Let's face it, we all have weird situations we face when attempting to organize our own homes.  Each family is unique.   In my case, 


I find myself amused to see hamster supplies next to cat supplies...I don't know why.
Part One:  The Garage - I know, it sounds weird, so let me explain.   Pulling into the garage everyday, I was always frustrated by how much disorganized clutter I had to walk through to get into the house.   We have seven mammals that need to be cared for, which means I'm always struggling to deal with pet supplies.  (I looked for "before" pictures, but, for obvious reasons, I don't have a lot of pictures of our garage...I mean, it is the garage.)  We had trash cans and recycle bins and dog food bins and cat food bins and bins for the cat litter and bins for the hamster bedding and none of the bins went together.   Some rolled, some didn't.  Some were big, some were little.  It was really inefficient, too.   In order for the kids to get to them, they were always pulled out of place and left in the way.  (Translation:  left out for me to deal with!)  With Superman overseas, I have been dealing with the garage more than ever before and it was making me crazy.   When Superman is home, I don't "see" the garage.  It is his domain.  These days, however, I'd want to head out to do a quick project and I'd be so visually distracted that I couldn't focus on my intended project that I'd spend two hours cleaning, organizing, reshuffling, whatever, in a vain attempt to make it all work and it didn't. 

Clearly labeled.
I finally conceded defeat and got rid of all the mismatched bins.  I liked our recycle bins (lids keep the animals out), so I kept those.  But I invested in new pet supply containers.  Then I labeled everything with vinyl from my Silhouette (still love that machine!) and set it all out. 
Cutter free...and definitely usable.
Now when I pull into the garage, this is what I see.  I feel happier when I walk through the door into the house because I didn't have to walk the gauntlet of "stuff I should be dealing with".  I've dealt with it...it is done...and I like it.   My solutions were simple and sustainable, even for teenagers.   Best of all, I'm pretty certain Superman will approve!

To be continued...

Part Two:  My Closet!


Wednesday, February 1, 2012

Hand-Painted Pillow

More Silhouette fun!.  I've seen a lot of tutorials through the years about using stencils to decorate everything from shirts to walls and everything in between, but I've never actually tried to do it myself.


That all changed last weekend when I used my Silhouette machine, some clear vinyl, painter's tarp, and some of the Martha Stewart multi-surface paint to create this amazing pillow.


It turned out to be quite simple.   I cut out two pieces of the painter's tarp (still the same tarp I've used for previous projects!) into 18" squares and ironed them flat.  I used the Silhouette to cut out my desired shape (which, in this case, was "summer tree" from Silhouette Studio) and placed it on one piece of the painter's tarp.  (There is no picture of this step, as clear vinyl doesn't photograph well.)  Once the vinyl was in place, I mixed a couple of colors of paint to get the color I wanted and started using the sponge dabber to apply the paint.  You can clearly see the vinyl.


When I was done, this is what it looked like.  Using the clear vinyl, I can clearly see exactly where the painted image is in relation to the entire piece.


Then, because I was I was too impatient, I used a heat gun to accelerate the drying process and peeled off the vinyl.  Doesn't it look fabulous?


The lines were pretty sharp and the paint really didn't bleed.  (It did soaak through in places, though, so be sure to protect whatever surface you use.)


After that, it was quick work to stitch up the two sides and stuff the pillow.


Viola!  My hand-painted pillow that my children say looks "just like you bought it at Pottery Barn".  Really, what else is there to say?