Showing posts with label stencil. Show all posts

Tuesday, January 29, 2013

Valentine's Craftiness

I saw this post of The Peanut Paintshop on Pinterest.  She's selling these and if you don't have the time or the inclination to make your own, you should head over to her shop at www.thepeanutpaintshop.com and buy some.

Still, I'm always on the lookout for new crafts, so I decided I had to make my own. 


Five $0.79 hearts from Hobby Lobby and $1.50 in ribbon from Hancock Fabrics and I was ready to go for less than $6.00.  We had the paints at home and Buttercup and I enjoyed an afternoon of crafting and chick flicks.  What could be better? 


The names are painted on, instead of using vinyl letters.
Anyway, I used my Silhouette machine to cut vinyls of everyone's names and used the negative space to create stencils.  (I could have just used red vinyl, but I decided to practice the whole "painting with stencils" instead.)   So, the names are painted on the hearts.
 
I played around with the colors of conversation hearts,
just made them deeper.
A quick clear coat and they were ready...I sewed the ribbon to a D-ring I had in my stash, stapled the hearts to the ribbon and, viola!, a super cute (and super inexpensive) Valentine's decoration.


Oh, and they turned out so well, I made another set for my sister-in-law, paying special attention to the baby arriving this summer. 


Boy or girl?  We've got it covered!

The names on the little hearts?  If it is a boy, my nephew thinks it should be named "Lightning McQueen" and if it is a girl, "Sparkles".   Works for me!


Doesn't every home office have an xBox?
P.S.  In case you're wondering what Superman was doing during all my craftiness, I'd have to say he was embarrassing his son...yes, he's trying get up to speed on the latest xBox games.  Valiant says Superman is a "noob", poor guy!

Wednesday, February 1, 2012

Hand-Painted Pillow

More Silhouette fun!.  I've seen a lot of tutorials through the years about using stencils to decorate everything from shirts to walls and everything in between, but I've never actually tried to do it myself.


That all changed last weekend when I used my Silhouette machine, some clear vinyl, painter's tarp, and some of the Martha Stewart multi-surface paint to create this amazing pillow.


It turned out to be quite simple.   I cut out two pieces of the painter's tarp (still the same tarp I've used for previous projects!) into 18" squares and ironed them flat.  I used the Silhouette to cut out my desired shape (which, in this case, was "summer tree" from Silhouette Studio) and placed it on one piece of the painter's tarp.  (There is no picture of this step, as clear vinyl doesn't photograph well.)  Once the vinyl was in place, I mixed a couple of colors of paint to get the color I wanted and started using the sponge dabber to apply the paint.  You can clearly see the vinyl.


When I was done, this is what it looked like.  Using the clear vinyl, I can clearly see exactly where the painted image is in relation to the entire piece.


Then, because I was I was too impatient, I used a heat gun to accelerate the drying process and peeled off the vinyl.  Doesn't it look fabulous?


The lines were pretty sharp and the paint really didn't bleed.  (It did soaak through in places, though, so be sure to protect whatever surface you use.)


After that, it was quick work to stitch up the two sides and stuff the pillow.


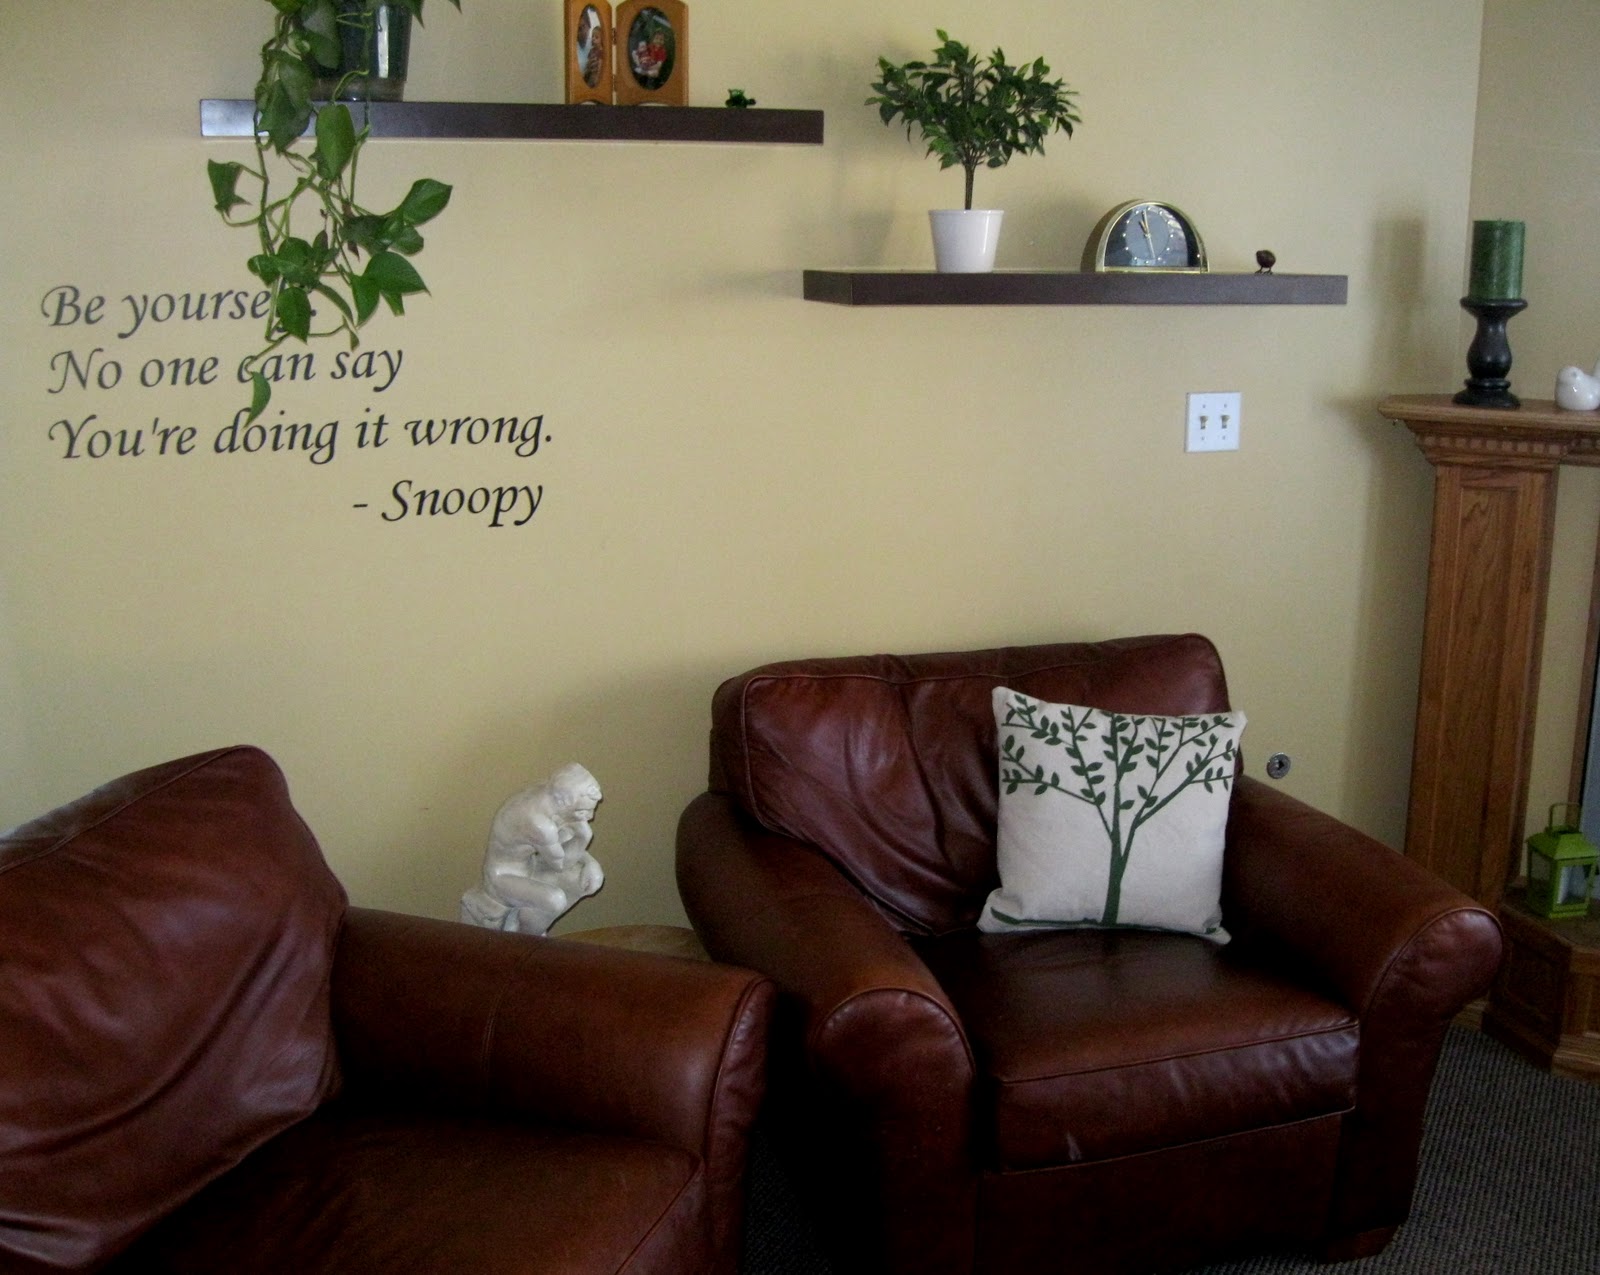
Viola!  My hand-painted pillow that my children say looks "just like you bought it at Pottery Barn".  Really, what else is there to say?