Showing posts with label craft. Show all posts

Wednesday, February 6, 2013

Scrabble Valentine's Tiles

I wish I could find the blog that gave me this idea, but a quick trip through my Pinterest boards didn't reveal a pin, so it is going uncredited.  Still, just know I didn't think of this on my own.

Aren't these cool?
Anyway, bought these giant Scrabble tiles for family friends for Christmas and when Superman saw them, he said he could have made them.  Well, yes, he could have, but we don't have a router set up to route the individual letters, and besides, I'd already purchased the gift.

See the slightly routered edge?  I love how the grain of the pine is so clear.
Turned out, Superman was right.  These were a quick and easy project.  He made quick work of cutting "tiles" out of 1 x 6 pine board, finished the edges with his router, sprayed on a few thin coats of lacquer and handed them off to me.  


Since they were specifically for Valentine's, I decided to use
a font with more flourish than the actual Scrabble font.
(I think I actually spent more time playing with fonts on the Silhouette machine than he spent prepping the tiles!)  I applied the vinyl letters (with their appropriate points value, of course) and they were done.

Scrap wood and a little time gave us a really cool decoration!
Love them!   Best of all, we used scrap wood, had the lacquer, and the vinyl, so they were a free project!

Monday, September 24, 2012

Easy "Milk Bottle" Vase

This post is actually for my friend Karen (and her daughter, Jessica) who sent me a note saying she needed some "repurposing" ideas for a class they'll be hosting this spring.  So, Karen and Miss Jessica, I hope you like this one!

My sunshiny kitchen window...
A couple of years ago, I purchased these teeny, tiny milk bottle vases from the Dollar Spot at Target.  I just loved their simplicity.  I put them on my kitchen window sill and used them to decorate for the seasons/holidays.  Occasionally, I'd wish they were bigger, but they weren't, so that was that.


Cute, but limited by their teeny size.
This past winter, my daughter went through a phase where she was drinking Starbuck frappuccinos with far too much regularity (yes, I know I'm a bad parent...I've accepted it and moved on!).  One day, as I was collecting the bottle(s) she left out (grr!), I realized they looked like little milk bottles and an idea was born.

Doesn't this look like a milk bottle?

First things first, I removed the labels from the Starbucks bottle.  They peel off pretty easily, but you'll definitely need Goo Gone to get the adhesive off the glass.  After that, I put them through the dishwasher to get them sparkly clean.


After a few coats of spray paint.
Then I filled a large can (a #10 can worked well) with sand (for weight/counter balance...clean kitty litter would work well, too) and stuck some dowels into it.  (Picture a bizarre barren bush.)    Put the bottles on the dowels upside down and spray paint the bottles.  It took a few thin coats to get good coverage. 

Before and After
When I was done, I had little white milk bottles.  After that, a few minutes with the Silhouette machine and I'd created bigger versions of my tiny milk bottles.

After adding Silhouette vinyl.  (Sorry for the photo quality...I took the
picture late one night.  Doesn't everyone finish crafty stuff late at night?)
There you have it, a quick and easy and virtually free repurposing idea (assuming you have a Frappuccino junkie in your house).   Karen, do you like this one?  Look again, doesn't this get your creative juices flowing?
Virtually free...
P.S.  Even after all these years, I still miss being your neighbor!!

Thursday, October 6, 2011

New Use for Old Candle Jars

I love candles.  I really do.  I like them enough that I actually use them up.  My frugal soul hates throwing away the empty jars.  They're really nice looking, but they're not food-grade, so you can't use them for candy or nuts (unless the candy is individually wrapped, of course).


One oldcandle jar from Target with wicks burned all the way down.  (I love this candle...it smells amazing.)  Pop out the last of the wax and save it for your tart burner.  Use Goo Gone to get the label off and wash and dry the jar.  Ta Da!  You have a jar ready to use.

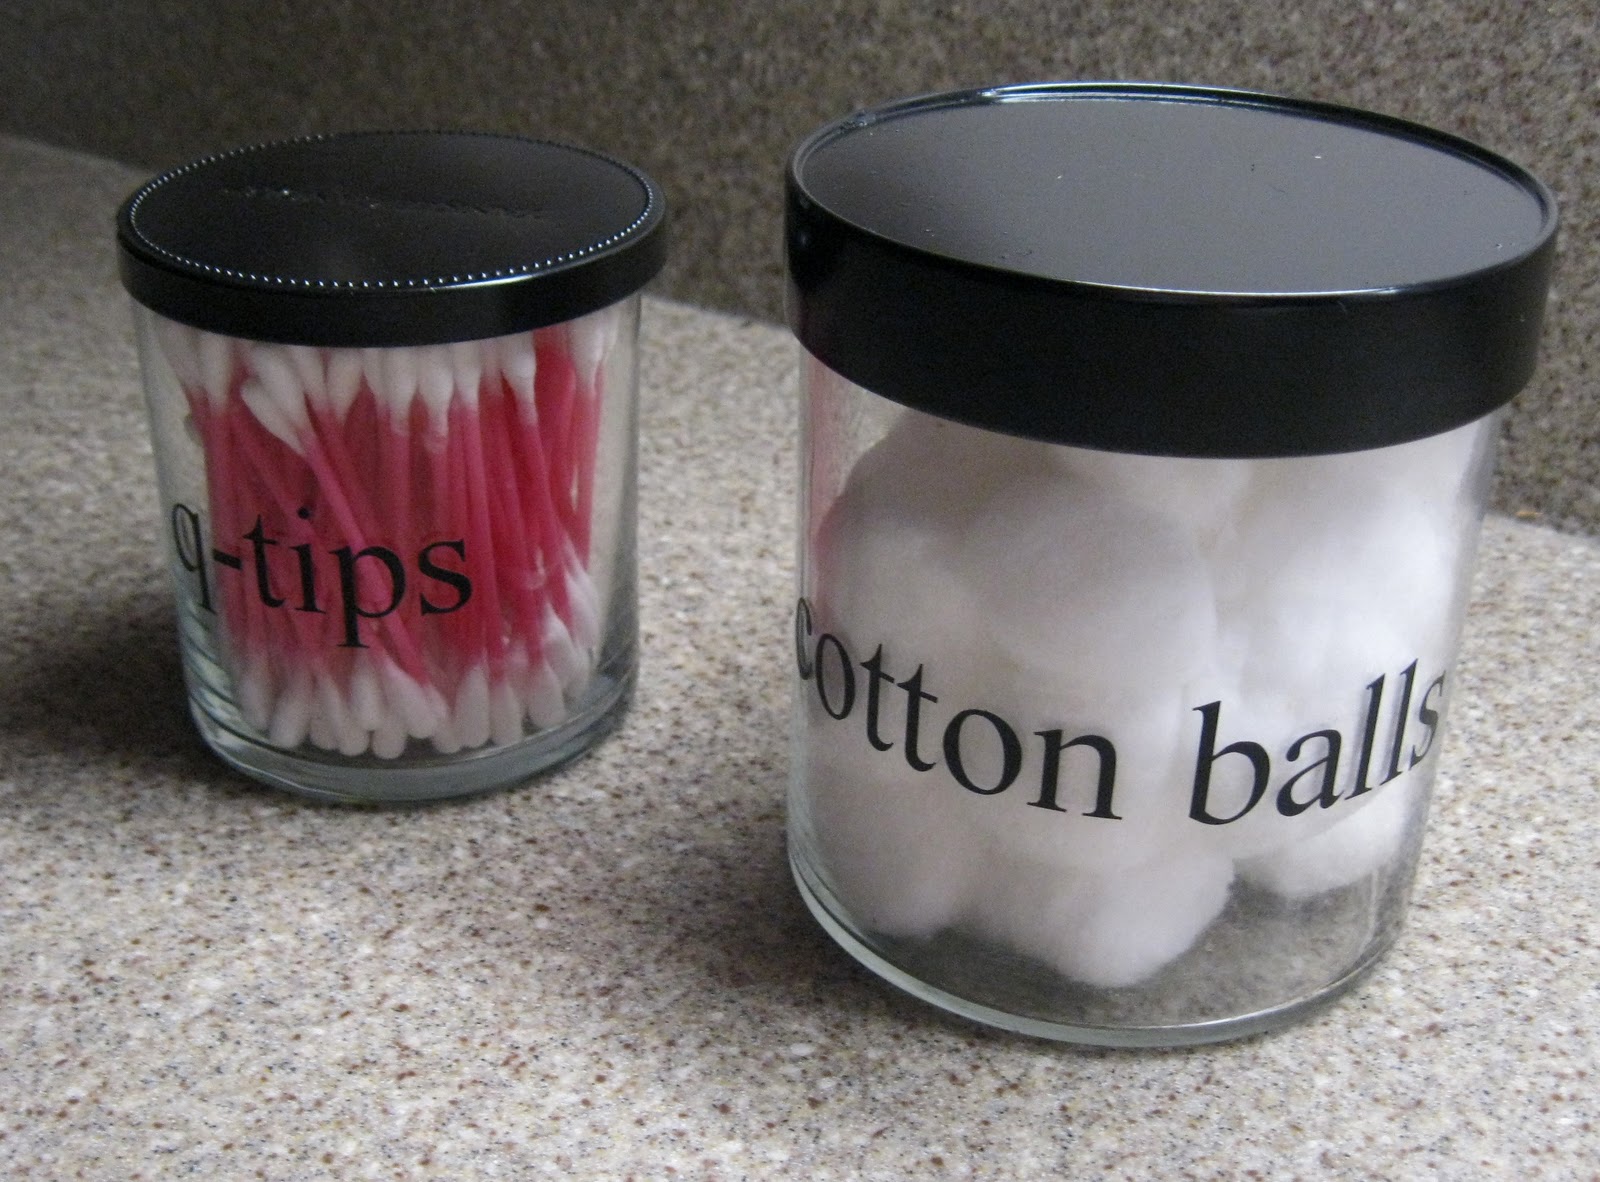
Here are two I've already begun to work with.  One is a little one from Yankee Candle and one is my first Target candle (told you I liked them!).  Took the labels off and washed them and these jars are both pretty enough to be used for all kinds of things:  buttons, paper clips, safety pins, etc.   I thought mine would work beautifully in my bathroom, so I added some q-tips and some cotton balls and they're ready for work. 


Still, I had a little something different in mind.  A quick coat of spray paint gave me black lids.

Much better!  They looked good, but still weren't quite what I was after.


 Ah, a couple of labels gave them the finishing touch!  Perfect, don't you think?

Since the candles were already paid for and used, these little jars were practically free.  I love it when things turn out well, don't you?

Monday, October 3, 2011

Easy Peasy Halloween Craft - Jack-O-Lanterns

The world shifted on its axis recently and my family has been the beneficiary of the effects!   Seriously.  Here it is October 3 and my Halloween decorations are up and I've even had time to do some Halloween crafts.

This little one was so quick and easy (and had my neighbors scratching their heads).  It was so easy, I just had to share it with you. 


You'll need: 
bigger empty plastic jar with lid (clean and no label)
orange paint (spray paint or craft paint)
brown or green paint
a straw
something to make the face:  vinyl, sharpies, paint

I had some empty plastic jars (mayonnaise and beef jerky treats) that I washed and removed the labels.  Took them outside and spray painted the inside of the jars orange.  (Seriously, I wish you could have seen my neighbors' faces when they saw me out on the front lawn painting plastic jars orange and surrounded by a bunch of little kids who were watching with tremendous intensity.  It was so funny.)

Anyway, where was I?  Oh, yeah...  Painted the jars orange (we had orange spray paint...very weird)


and painted the lids brown.  Gave it a little more thought and came up with those "kid's cup" straws from restaurant kid's meals and painted them brown, too.  (The neighborhood kids were equally split between brown and green...I had brown on hand, so brown it was!)

Let everything dry and headed downstairs to get some pumpkin face vinyls via my Silhouette machine.  (Have I mentioned how much I love that machine?  It is so awesome...seriously awesome!)


 Once the paint was dry, we applied the faces.  Isn't my assistant cute? 


 Drilled holes in the lids and inserted the bendy straws and added some hot glue to keep them stable.  (Careful drilling the holes...one of the lids cracked when I drilled the hole.)


  Added our battery operated candle and we're ready for nighttime!


The kids can stick these in their windows and I don't have to worry about anything more than dead batteries.  Love it!

Wednesday, October 6, 2010

Halloween Craftiness

If you're anything like me, you've done a lot of crafts that haven't really turned out well, for whatever reason.  Maybe the execution was poor, maybe the muse didn't show up at your house, or maybe it just wasn't meant to be, but whatever, I think we've all done crafty stuff that doesn't turn out well.

Well, I'm happy to share with you a craft that was a) super easy and b) turned out really, really well.  You won't need a Cricut or a Silhouette or any of those other machines that help people create crafty goodness.  (I don't have any of those nifty machines, so my craftiness has to be done by hand.)


You need a 4 x 4 porcelain tile, a printer, some scissors, some Modge Podge, and a wire hanger.  (You can spray paint your tile, too.  I did a few that were spray painted black, but adds a step you don't need to do unless you really want to.)


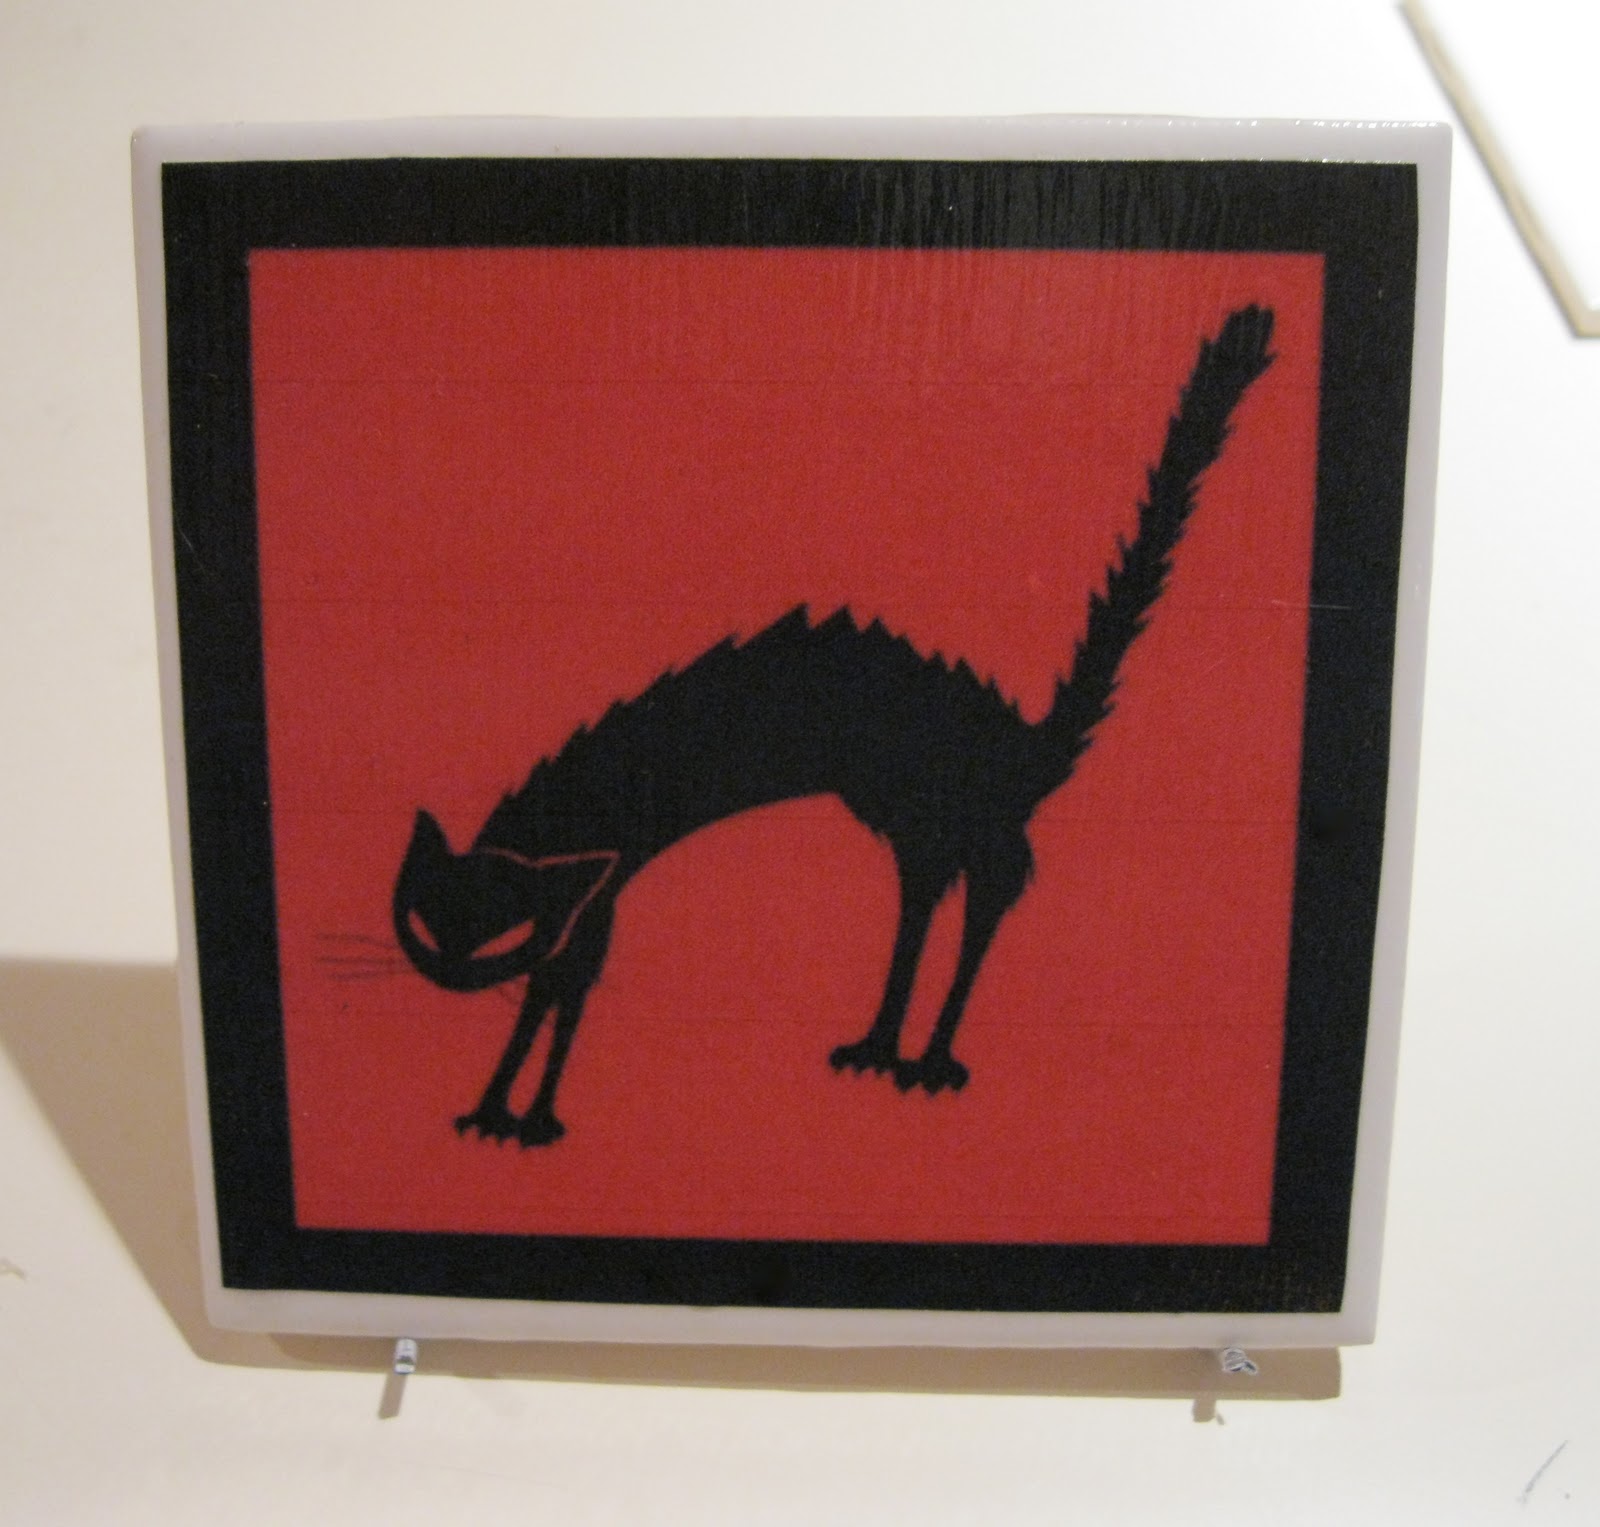
First, do a quick search for cute/attractive seasonal clip art.  I found mine at Halloween Clipart.com. Print out a few that you like and cut them out.  (See, now we've used the printer and the scissors!)


 Lay out your tile and use the Modge Podge to glue your image to the tile.  (Use something flat to get any air bubbles out from under the paper.)  Allow that to dry a half hour or so, then put a coat of Modge Podge over the entire front of the tile.  Allow to dry.  (Tile and Modge Podge used!  Notice that I painted the tile in this one.)


Take your wire hanger and head to the garage.  Cut a length of wire (about ten inches) and, using pliers, bend it into the shape of a tile holder.  (Finally, the wire hanger!)


Place your beautiful tile on your super cool tile holder and behold the results of your nifty Halloween craftiness.


Admit it!  It turned out well, didn't it?  I'll admit that I like simple holiday/seasonal decorations.  This 4" tile is right up my alley.  Not too cutesy and not at all gruesome; by picking my own clip art images, I was able to pick images that worked for me.  (Notice that they're aren't jack-o-lanterns or skeletons or scarecrows?  Those just aren't my thing.)    I love it when the result matches my imagination!

Tuesday, July 6, 2010

Plenty of Time!

I saw this quick craft from Jess at How About Orange and decided it was right up my alley.  She calls them "mid-century clock faces", but to me they were more George Jetson.  Regardless, I thought they were super cute.

Just one little problem:  I'm not a drinker and I don't ever seem to have bottle caps.  While the past few months have made me long for a few good Long Island Iced Teas, even those wouldn't have helped in my quest for bottle caps.   Fortunately, in addition to the two bottle caps I could scrounge up, I also had some flat disc magnets that weren't the cutest, so I included them, too.

For the bottle caps, I used a hot glue gun and attached magnets to the inside of each cap.

I painted everything white.


Then I used the template that How About Orange so kindly provided and I used a 1" circle punch and cut out all the little clock faces I wanted to use.

A little Modge Podge attached the clock faces to the magnets and a coat of Modge Podge finished them off.

Aren't they cute?
Quick, easy, and virtually free.  You've got to love anything that fits in all those categories! 

Don't want to make clocks?  What about pictures?  Buttercup would definitely love squirrels, hamsters, kittens, etc.  Flowers would be pretty, too.   Oooh, or a monogram of the first letter of your last name?  or an inspirational word?   Hmmm...I might be making a few more!

Thursday, June 11, 2009

Just in case you thought I was the only one...

...to attempt creative things in this house, look at what Buttercup made! Isn't it adorable...the legs actually move because of the rivets (thanks, A, I really need to return your tool...I never did the project I was originally thinking of, but it came in really handy today!).


We saw these at Design Sponge (Aunt Katie aka loveaphid brought them to my attention) and I thought they would be fun for Buttercup to tackle. She did this completely on her own, with the exception of attaching the legs...that was difficult. This first one was with cardboard that was a little to thick, but now we have some that is cereal box-thick, so she's eager to do another one.

Head of to Design Sponge for step-by-step instructions and a free pattern to download and to see her wall of horses...it is a stampede!

Wednesday, April 15, 2009

Felt Flowers

Aren't these the prettiest little flowers? Buttercup and I made them one evening a few weeks ago and I've been meaning to share them with you. These are from a pattern shared with us by Yoonie-at-Home and you get get it right here. All you need to do is print out the pattern on your regular printer and you're ready to go.


The materials needed are minimal. Just two colors of felt, a pair of scissors, and some thread to sew them all together. The pattern is easy...you just cut out a piece of each pattern piece she gives you...none of this remembering to cut out two of this and one of this...nope, you just cut them out, stack them in diminishing size order and sew them together in the very center. See? I told you it was easy. Buttercup was very proud of herself for doing it all on her own. I've added a button (like Yoonie did) to the center of some of them for an added little touch, but Buttercup is being more of a purist with hers.

Yoonie's original instructions call for the flower to be put on a hairclip or hairband, but since we just don't wear those, we're ad-libbing a bit with our final execution. I'm sewing a pin on the back of of one of them, so the person I'm sending it to can pin it to her backpack or a jacket or whatever. Buttercup is toying with using the hot glue gun to add some "bling" to her Nintendo DS. (Look, if you can girly it up, she'll find a way to do it!) Finally, I'm thinking of gluing magnets or thumbtacks to them to make them really awesome magnets/pins for a bulleting board. Wouldn't that be cute? Truly, they were so easy to do, it just felt (pun definitely intended!) like playing.

If you're looking for a fun, easy project to do, this is definitely the one for you.