Showing posts with label pressure cooker. Show all posts

Thursday, May 31, 2012

Pressure Cooker Artichokes

One night last week, Valiant was working and Buttercup and I took the opportunity to split an artichoke.  I am so grateful that at least one of my children is willing to enjoy the wonderfulness that is an artichoke.  The other thing I'm grateful for?  Just how easy it is to prepare an artichoke with a pressure cooker.
Ready to go...don't they look beautiful?
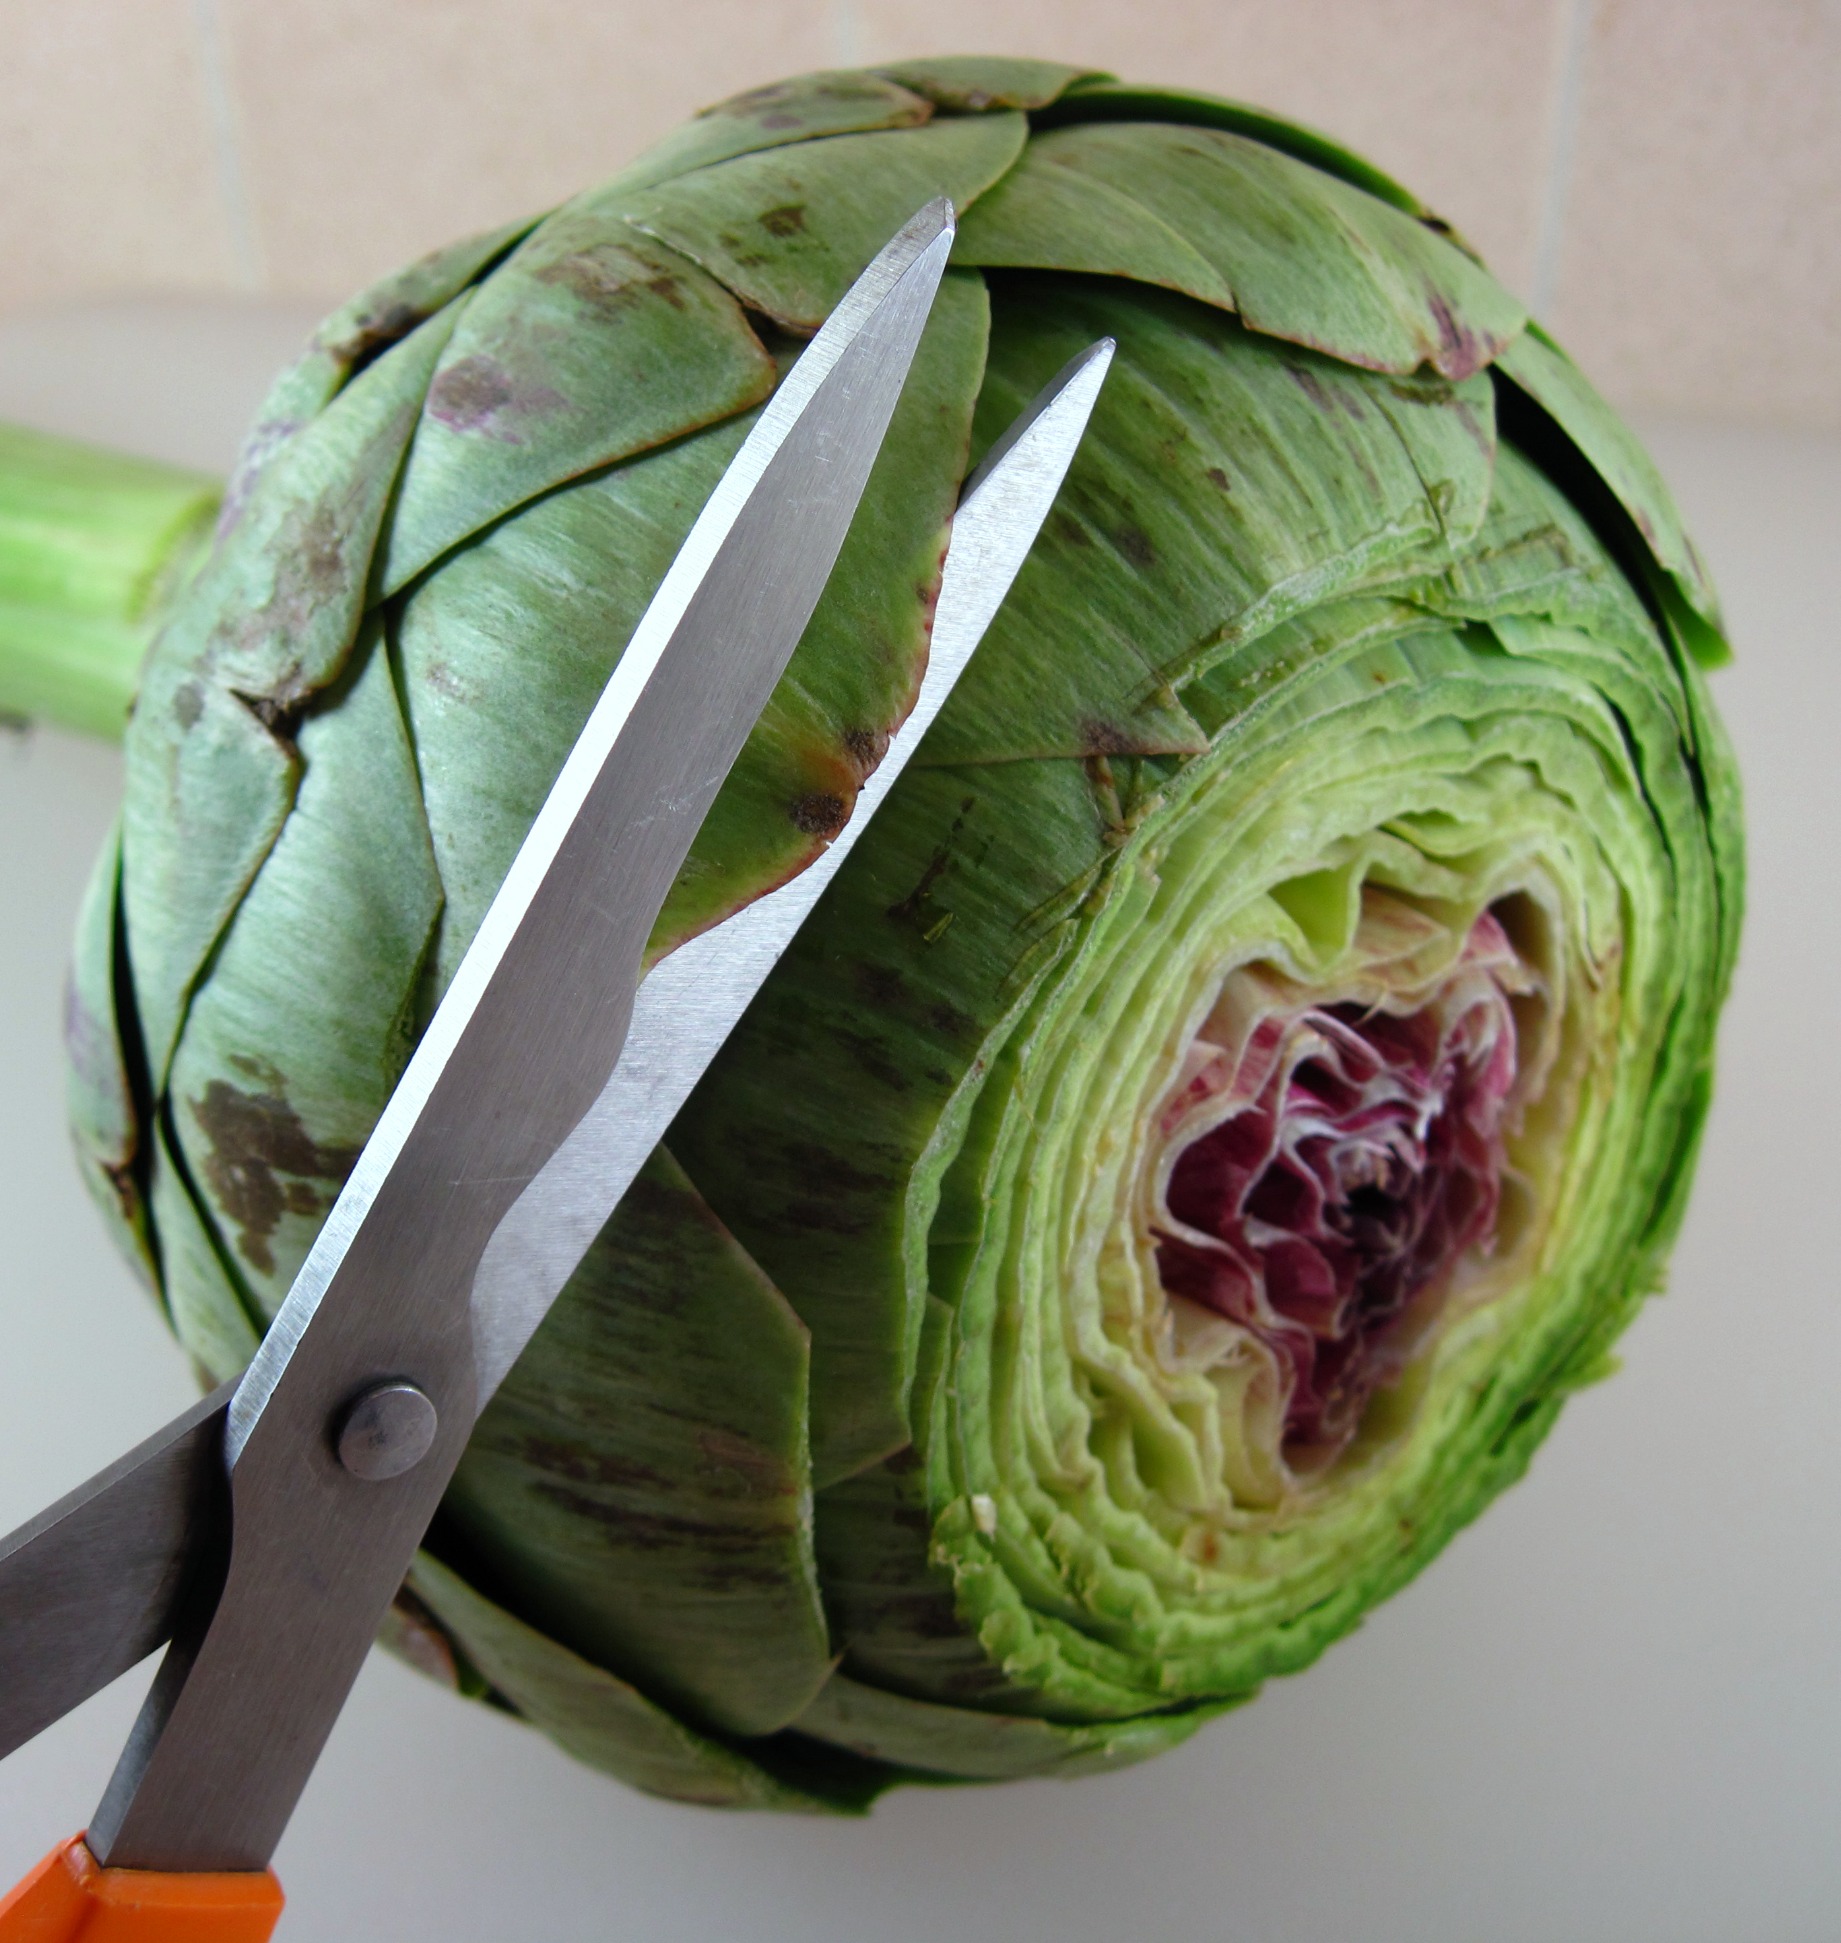
Seriously, it is that easy.  First thing you do is rinse your artichoke.  Pat it dry and trim the top.  Then you take your kitchen shears and cut off the pointy tips of all the leaves.  Then you cut it in half and cut out the choke (the "fur").

Lemon to keep the artichokes from turning too brown and garlic for, well, garlic flavor!
This is what you'll be left with.  Set both halves in your pressure cooker in a steamer basket.   Squirt with lemon and sprinkle with garlic.   Add two cups of water.   Close up your pressure cooker and turn on the heat!

My old-school pressure cooker.  I just turned the flame on high and waited for the
pressure valve to bobble!
Wait 10 to 12 minutes from the time the pressure valve starts bobbling.   I have an old-school pressure cooker.  The little top starts bouncing back and forth on little bursts of steam.  When it settles into a rhythm, that is when I set the timer. (Two artichokes takes roughly 12 minutes, one artichoke takes roughly 10 minutes.)  As soon as the timer goes off, take the pressure cooker off the flame and head over to the kitchen sink to do a quick water release.  (Some sites say use cold water; I was always taught to use hot water.)

Look at how beautiful!  Still steaming tenderness and ready to be plated!
One the steam is released, you an open your pressure cooker and view your perfect artichokes.  (Notice that I didn't have enough water and almost steamed it dry, thus the brown water in my pan...oops!)
Look at that Artichoke goodness.  Perfectly done, ready to be eaten!
After that, you can serve your artichoke warm or chill it.  It is your preference.  We like ours warm, with melted butter.  I remember my dad and grandpa liked it mayonnaise (ick!). 

If you use your homemade mayonnaise, this is purely Paleo!
(We used grass-fed butter, so it didn't make the cut!)
Sit down, peel off those leaves one by one, scraping your teeth across the meaty goodness, unlocking the heart.  Then, cut that heart into chunks and swirl it what is left of your butter (or mayo) and savor its sublime goodness!  Before you know it, you'll have nothing left but scraped leaves on your plate and a smile on your face.  Just remember:  Don't put those leaves in the garbage disposal...they will ruin it!!  Nope, artichoke parts are compost or trash only!

All that is left...leaves for the trash and the memory of a perfect artichoke!


Thursday, March 22, 2012

Pressure Cooker Hard-boiled Eggs? Who knew?

I love hard-boiled eggs.  I love to eat them with salt, I love to eat them in egg salad, I love potato salad with hard-boiled eggs included.  I love hard-boiled eggs.  Still, hard-boiled eggs can be a pain in the rear.  I've read all the tricks:  warm them to room temperature before you boil them, turn the water off as soon as it begins a rolling boil, dunk them in ice immediately after removing from heat, make sure you use older eggs, etc.  Still, I can't get any consistency when going to peel them. Is there anything more frustrating than taking half the darned egg with you as you attempt to peel your hard-boiled egg?
Perfect eggs (not-so-perfect photography!)
Imagine my surprise when I read Nom Nom Paleo's blog and she referenced making her hard-boiled eggs in her pressure cooker.  I read it twice.  What?!  I can use my pressure cooker to make hard-boiled eggs?  Seriously.  This I've got to try.  So, I followed her link to Hip Pressure Cooking .  (My pressure cooker isn't of the hip variety, either...it is just a plain old Presto that my dad got me years ago, just like the one my parents had when I was growing up--definitely NOT hip.)  The directions were simple and the results were fabulous!  Each egg from the batch has peeled perfectly...I'm just so happy.  (Hey, it is the little things that make me happy, remember?)


It is this simple:  1 cup of water, steamer basket, and eggs.
There you have it:  Use your pressure-cooker to make hard-boiled eggs (you can make medium- or soft-boiled eggs, too). 

It is the little things, like perfectly peeling a hard-boiled egg,
that make me happy...
 Give it a try...you'll be amazed.

Tuesday, November 2, 2010

New Use for my Pressure Cooker

I told you that I've been making a lot of Caramel Corn, which means I've been making a lot of popcorn.   My popcorn popper died last year and I've been making popcorn on my stove top ever since.  With mixed results.  Sometimes the popcorn would be perfect, sometimes it would be soggy.  Sometimes it would all cook and sometimes only half would cook.

Then it occurred to me to try my pressure cooker.  It seemed to me that the steam release from the pressure cooker lid would be perfect for releasing the right amount of steam from the popping corn.  It worked!  I couldn't believe it.  In the six batches I've made since the first time (not all of them were caramel corn!), I have gotten perfect popcorn every time.  Every, single time.


So, if you've got a pressure cooker and you like making popcorn, you should give it a try...oh, and notice that I don't put the weight on the top when I make the popcorn.  As you can imagine, I won't be buying a new popcorn popper.


Oh, and if you're interested, I use 2-3 tablespoons of oil and 1/2 cup of popcorn.  Another common item with a new use...I love it!