Wednesday, October 13, 2010

Pumpkin Cookies with Cream Cheese Frosting

Fall equals pumpkins around here.  There is something about the crisp air that makes me want to have the smell of cinnamon and spice wafting through my home.  That means I'm busy baking:  pumpkin bread, pumpkin cake, pumpkin cookies.  I'll try pretty much anything pumpkin this time of year. 

Is it that way at your house?  If it is, I urge you to give these Pumpkin Cookies with Cream Cheese Frosting I found last year.  Jamie at My Baking Addiction shared this recipe and is quickly became one of our seasonal favorites.

Pumpkin Cookies with Cream Cheese Icingfrom My Baking Addiction
Yield: 24 Cookies (Um, only if they're HUGE)

Ingredients
1 cup butter flavored shortening
1 cup unsalted butter; softened
2 cups white sugar
2 cups canned pumpkin (solid; not pie mix)
2 eggs
2 teaspoons baking soda
3 teaspoons ground cinnamon
2 teaspoons pumpkin pie spice
1/2 teaspoon nutmeg
1 teaspoon salt
4 cups all-purpose flour (I split mine: 2 cups all-purpose/2 cups whole-wheat)

Directions
1. Cream shortening, butter, white sugar and pumpkin. Add eggs and mix well.

2. Sift together the baking soda, ground cinnamon, pumpkin pie spice, nutmeg, salt and flour. Add to pumpkin mixture and mix well.

3. Drop from spoon to cookie sheet. (In order to get only 24 cookies from this recipe, Jamie used a 1/4 cup scooper. As for me, I tried it both ways. I liked the smaller cookies used my medium scooper from Pampered Chef for those.) Bake 13-15 minutes (the smaller cookies take less time...look at them at 10 minutes) at 350 degrees F (175 degrees C).

Cream Cheese Icing

Ingredients
1 (8 ounce) package cream cheese, softened
2 tablespoons butter, softened
4 cups confectioners' sugar
1 teaspoon vanilla bean paste (extract will also work)
2 tablespoons milk

Method
Mix the cream cheese with the butter, confectioners' sugar, vanilla extract, and milk in a bowl. Heat in a microwave for 15 seconds. Drizzle spoonfuls over the cooled cookies and smooth with the back of a spoon or a spatula.

NOTES:  These cookies really were awesome. As I wrote above, I liked the smaller version of the cookies, so if you make smaller cookies, you'll get a lot more than 24 cookies out of this recipe. Also, the frosting doesn't harden, so you can't stack the cookies to store them.

Happy baking!

Tuesday, October 12, 2010

Home-made Applesauce

Last week, I tackled the apples I bought from a local orchard.   One of the things I decided to try was home-made applesauce.  I tasked Valiant with finding us "a good recipe to try".  I am so glad I did, because Valiant picked a winner.  I only wish I'd gotten more apples.  This applesauce was so easy and so good.  If you've ever thought of trying to make your own applesauce, I encourage you to give it a try...you won't regret it.

Easy Homemade Applesauce
RecipeTips.com

Ingredients:
3 pounds of apples (10-12 medium) (I had McIntosh and Honeycrisp)
1/2 cup sugar to taste; adjusting for sweetness of apples (I used 1/4 cup of sugar)
1 teaspoon of cinnamon
1 teaspoon of vanilla extract (optional) (I used it!)
Water as needed to adjust thickness.


Directions:
1.  Wash, peel, core and slice apples.  (I didn't peel mine and I cut them in chunks/roughly quarters.)
2.  Place prepared apples in sauce pan.  Add 1/2 inch of water to the bottom of the saucepan and cook, partially covered, over medium to low heat for 15-20 minutes.
3.  Add sugar.  (Adjust the amount of sugar based on the type and sweetness of the apple variety being used.)  Add cinnamon and vanilla.
4.  Cook for an additional 5 minutes.  If sauce is too thick, add a small amount of water. 
5.  10-12 medium apples makes approximately 1 quart of sauce.
6.  Since some apples cook up softer than others, the consistency of the sauce may vary.  If a smoother textured sauce is desired, place cooked sauce in blender or food processor and blend until desired consistency is achieved.

NOTES:

I used more like 20 apples.  The McIntosh apples were softer than the Honeycrisp and cooked more quickly.  I ended up using the blender to get a nice sauce.  Also, I didn't peel my apples, but the blender took care of the peels, too.  I don't know how to can yet, so I put the sauce into bottles and froze all but one. 

Monday, October 11, 2010

Monday Musings - Does Making To-Do Lists Actually Work?

I like to make to-do lists.  They make me slow down and take stock of what it is I'm trying to accomplish, which is great.  Do they actually help me to get that stuff done, though? 

Um, not always. 

Probably not even 50% of the time.

Why is that?

Let me illustrate:

At the beginning of spring, I made the following To-Do list.  It was a list of projects that I'd been thinking about and decided I just needed to get done this summer.

Sew Cushions
Sewing Dining Room Cushions
Sew Valiant's Pillow Sham
Sew Cushion for Bench
Sand & Paint Laundry Room Bench
Sew Patio Cushions
Paint Light Fixtures
Paint "black hole" Door
Paint Two Sections of Fire Pit Circle
Laundry Room -
    Paint entire laundry room
    Paint bathroom off laundry room
    Paint frame of mirror black
    Make cushion for Laundry Room Bench

Of this list, I have completed just three things!

Sewed cushions
Sewed Valiant's Pillow Sham
Painted the Outside Light Fixture

The rest of the stuff?  Still needs to be done and still needs to be done by me.  Here we are, well into fall, and I have not come even close to crossing off most of the things on my to-do list.  Actually, so far, I've achieved a humbling 23% completion rate.  I'm feeling pretty unsuccessful and not particularly productive.

Yet, by the same token, I wrote a two-page to-do list last Monday.  Everything from car registration to grocery lists to blog posts for the upcoming week.  I finished everything on the list by Wednesday.  An impressive 100% completion rate.  I feel truly productive.

To-Do lists come in a number of categories...short-term, necessary, and time dependent tasks are on one list, while optional, long-term, and "whenever" tasks are on a different To-Do list.  I find both helpful.  Both type of lists help me organize my thoughts, prioritize the tasks I have, and manage my time.  In that way, to-do lists do work for me. 

Do I get more done?  I like to think I do.  I'm thinking of breaking down my projects from my long-term list into short tasks within tasks to make progress on those projects, too.  Progress is contagious, right?

What about you?  Do you use To-Do lists?  Do they work for you?

Sunday, October 10, 2010

Food for Thought


"I have learned that the greater part of
our misery or unhappiness is
determined not by our circumstance
but by our disposition."
- Martha Washington

Friday, October 8, 2010

Fertilizer Friday - We're almost through...

We're almost through here...the growing season is pretty much over. The sprinklers are off now...in fact, as I'm typing this on Thursday evening, we've enjoyed a day of rain in Eastern Washington with more rain predicted for the weekend.  Before I know it, it will be time to blow them out and just off  the water to the yard for the season.

I can't believe the first week of October is already finished.  The time seems to go so quickly.  February rolls in with its winter winds and I'm chomping at the bit to get my garden going, longing for the vibrant colors of spring and summer.  By the end of September, however, I'm tired.  I've fretted over those same vibrant flowers, worried about the health of my vegetables, and generally expended tons of mental and physical energy in caring for the outside of our home.  I secretly rejoice when the weather calls "game over".  Still, here we are in the first week of October and no hard freeze has hit.  I spent a number of hours in the yard Wednesday.  The lawn is loving the mild weather and so I'm still mowing.   I finally decided to rip out the tomato plants.  While I had roughly 100 tomatoes on the vine, the slugs were taking advantage of the weather and enjoying them at unprecedented rates.  Not only that, but we just weren't getting the weather they need to ripen.  (I did save 20+, but between black moldy looking stuff and slugs, the rest were goners.)    In the meantime, there are still interesting things to see in our yard.


The fairies seem to be moving in.  Doesn't this look like a fairy village?

These tiny little white flies come every year at this time.  They're all over the neighborhood.


Our pumpkin plant sent its vines up a tree and then crossed into another tree.  We have tiny little pumpkins in our trees!   I know they won't ripen for us this year...so sad, but I think it is so silly that they're in the tree.


Oh, and our zucchini continue to be confused...they're blooming again.

Sam is still enjoying the garden.  (Buttercup says that the plant Sam is eating is catnip, but I couldn't say...I just know it comes up everywhere!)

There you have it!  I think this is it for the Nagle5 garden this year.  We've got enough rain the forecast that I'm going to have to take advantage of the occasional sunny day to get the zucchini out of the ground...and the spring bulbs planted.  That's okay though...I'm ready to come inside for winter.

It is Fertilizer Friday (sans fertilizer!), so head over to Tootsie's to see what is going on in gardens that aren't winding down...lots of them aren't and it is wonderful to see those tropical flowers as we get ready for winter here.  (Tootsie herself is featuring some absolutely amazing photos of the Mosaiculture International Gardens in Montreal ...you'll be stunned, I promise.)

Thursday, October 7, 2010

Shoot Me - 29 of 52...Lawn mowing again...my life is exciting!

Last week I cheated and had Buttercup take my pictures for the garden meme I do on Fridays.  While she was at it, I decided she should take my Shoot Me picture for this week.  I just told her to get me something I could use this week.   After seeing the shot she got, I think I'm going to have her do it every week!

You know how some pictures of yourself you see and think, "Huh? I never thought I looked like that? I never realized." Well, Buttercup know how to take pictures that I look at and think, "Wow!  That's me?!  Cool!"  Even in the midst of lawn-mowing, the girl knows how to get a good shot. 

Now, the girl is not responsible for my wardrobe...notice my overalls and my gloves...I look cool when I'm mowing, don't I?

Head over to Carin's place to see what everyone else is doing this week.  Shoot Me is simple you taking the opportunity to get in the shot rather than being the one holding the camera.  Your kids/husband/friends/ see you every day and love you just the way you are, so saying that you want to wait until you "look better" doesn't work, now does it?

Wednesday, October 6, 2010

Halloween Craftiness

If you're anything like me, you've done a lot of crafts that haven't really turned out well, for whatever reason.  Maybe the execution was poor, maybe the muse didn't show up at your house, or maybe it just wasn't meant to be, but whatever, I think we've all done crafty stuff that doesn't turn out well.

Well, I'm happy to share with you a craft that was a) super easy and b) turned out really, really well.  You won't need a Cricut or a Silhouette or any of those other machines that help people create crafty goodness.  (I don't have any of those nifty machines, so my craftiness has to be done by hand.)


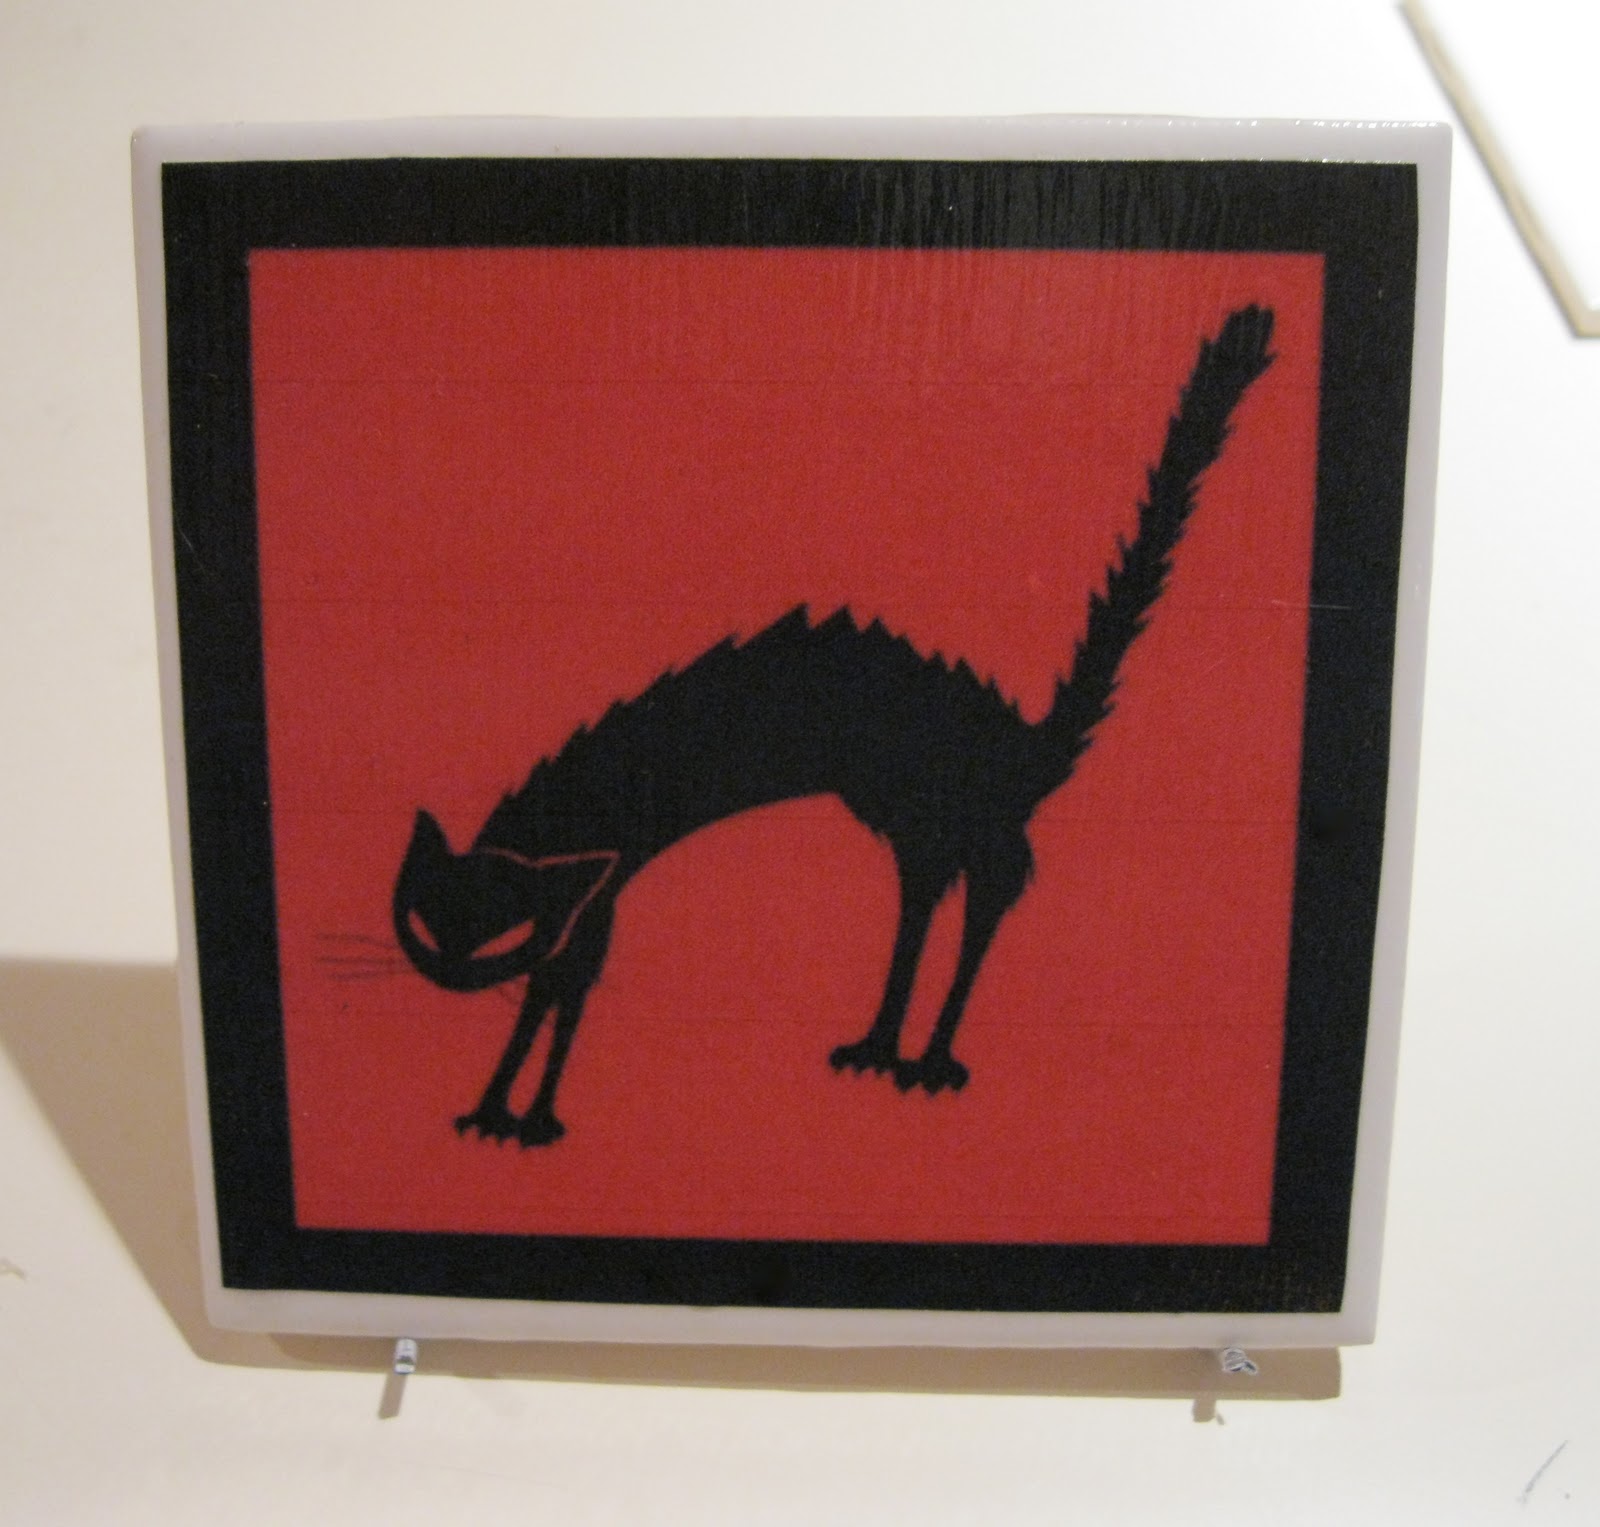
You need a 4 x 4 porcelain tile, a printer, some scissors, some Modge Podge, and a wire hanger.  (You can spray paint your tile, too.  I did a few that were spray painted black, but adds a step you don't need to do unless you really want to.)


First, do a quick search for cute/attractive seasonal clip art.  I found mine at Halloween Clipart.com. Print out a few that you like and cut them out.  (See, now we've used the printer and the scissors!)


 Lay out your tile and use the Modge Podge to glue your image to the tile.  (Use something flat to get any air bubbles out from under the paper.)  Allow that to dry a half hour or so, then put a coat of Modge Podge over the entire front of the tile.  Allow to dry.  (Tile and Modge Podge used!  Notice that I painted the tile in this one.)


Take your wire hanger and head to the garage.  Cut a length of wire (about ten inches) and, using pliers, bend it into the shape of a tile holder.  (Finally, the wire hanger!)


Place your beautiful tile on your super cool tile holder and behold the results of your nifty Halloween craftiness.


Admit it!  It turned out well, didn't it?  I'll admit that I like simple holiday/seasonal decorations.  This 4" tile is right up my alley.  Not too cutesy and not at all gruesome; by picking my own clip art images, I was able to pick images that worked for me.  (Notice that they're aren't jack-o-lanterns or skeletons or scarecrows?  Those just aren't my thing.)    I love it when the result matches my imagination!

Tuesday, October 5, 2010

Biggest Loser


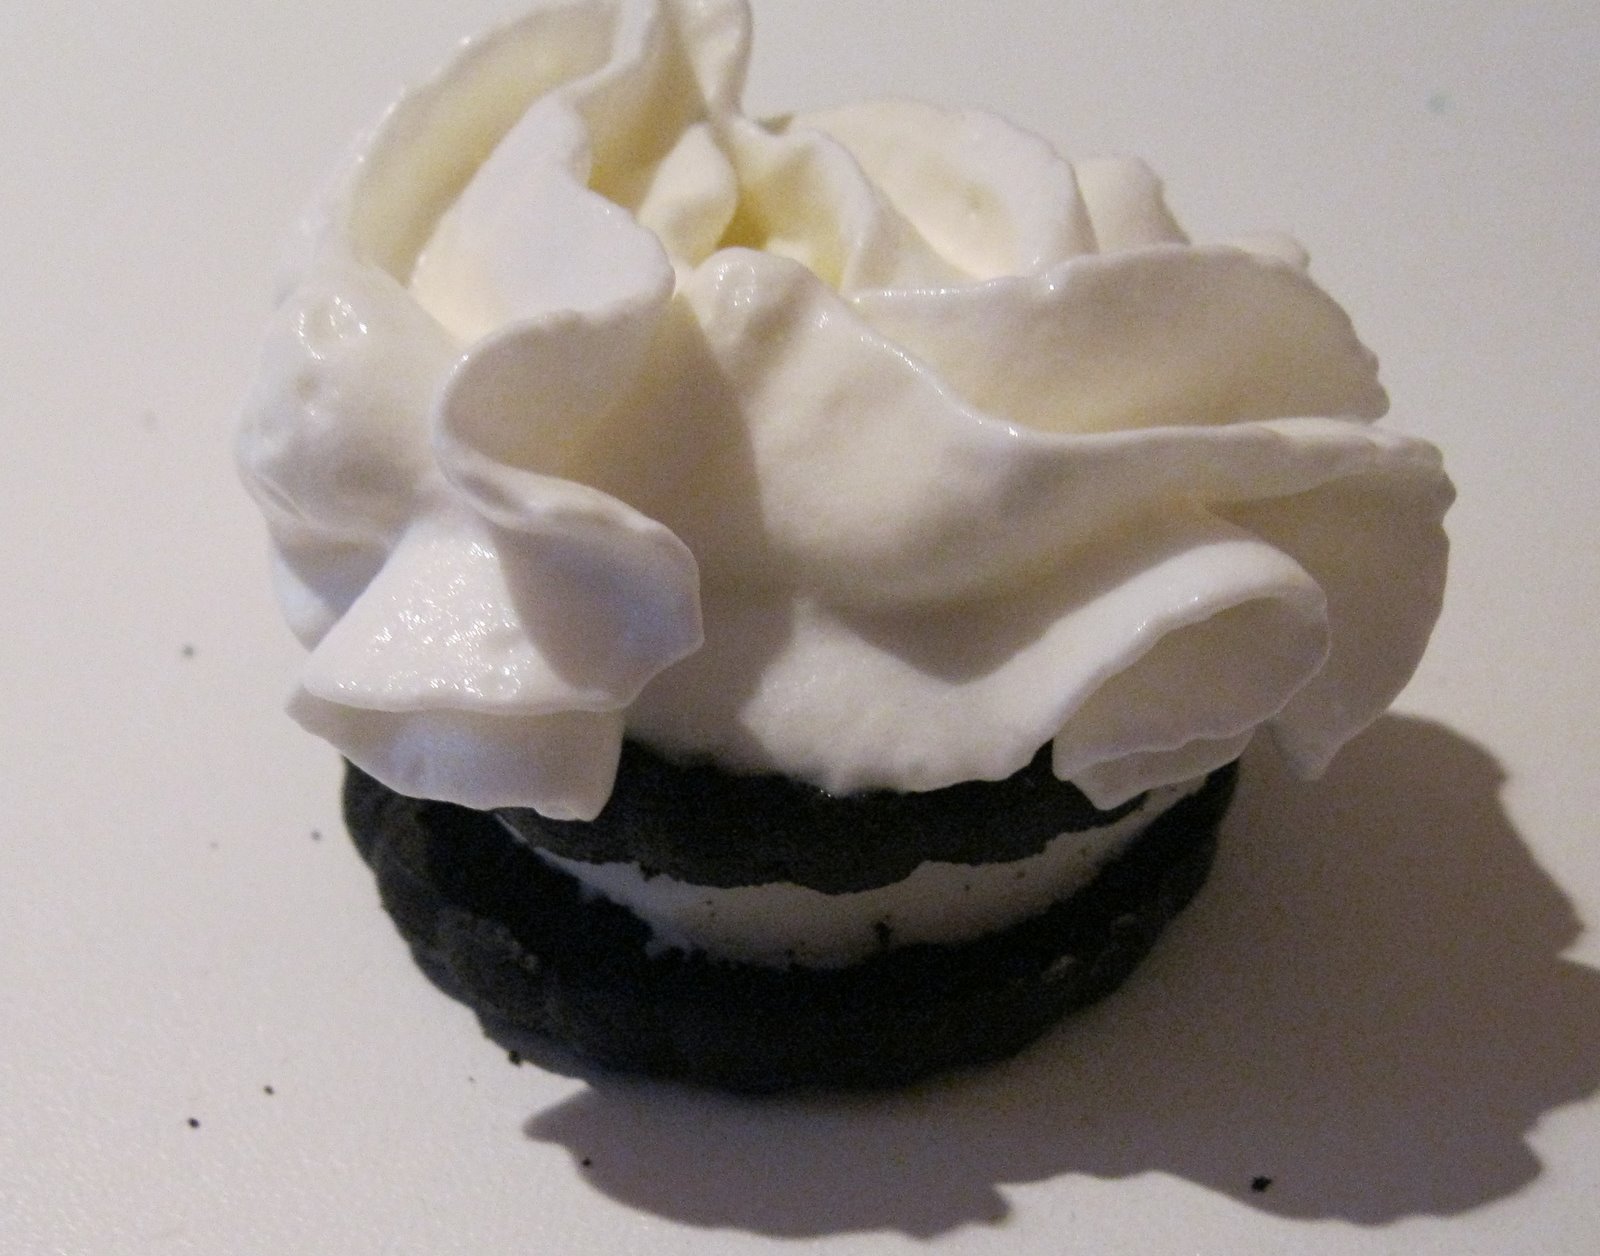
Watching Biggest Loser this evening, Valiant decided that it would be appropriate to have whipped cream topped Oreo-type cookies. He thought it was fabulous. I thought it looked gross. Don't have to guess what Bob and Jillian would think...sigh.
Posted by Picasa