Showing posts with label sewing. Show all posts

Thursday, February 18, 2016

Tote Bag - Success (with a little big of failure!)

Erin Gilbey of Dog Under My Desk has written some of the best patterns for purses and tote bags.  Her instructions are terrific and the photos accompanying each step demystify the process.  As I've mentioned before, one of my favorite aspects of her patterns is her insistence that no exposed raw edges be left in the finish product.  The resulting bags are just so much nicer and so much less "home made" looking. 


As always, spiral bound for ease of use during the project and storage later. 
Last week, I tackled the Outta Time Tote for the third time, this time sticking exactly to the dimensions stated in the instructions.  I've made it twice before, both times modifying the size to suit my purposes.    (Did I mention her patterns are easily modified for size and, in this case, dimension?)  Anyway, for this one, I stuck exactly to the pattern for the dimensions, creating a bag which is taller than it is wide. 

Finished dimensions: 14" tall, 12" wide, and 3" deep.  Really nice size.
As you can see, the bag came together beautifully. 
 
Structured enough to stand on its own when empty!
 For structure, I followed Erin's instructions and used SF101 woven interfacing, but instead of batting, I used Bosal Fusible Foam.  Pellon makes a fusible foam, too, which is nice for when I run out of my Bosal, as my source for the Bosal has been exclusively Amazon and running out is annoying.  The floral fabric is a Mary Engelbreit fabric, the straps are black webbing (instead of fabric), and the lining is just inexpensive cotton.   The zippers are #5 zippers of my spool of zippers by the yard.

My favorite part:  Black piping running up the panels and added to the zipper as well. 
I fell in love with this fabric, but my favorite part of this bag is the addition of the black piping.  I am especially glad I decided to add it to the zipper installation on the front pocket.  The piping just frames everything so elegantly.

Embroidery fail:  poor color selection ruined the whole thing.
What I didn't love and actually deemed a fail was the embroidery I added to the front pocket.  I picked the wrong color and the embroidery doesn't really show at all.  I should have gone with black instead of picking a color which matched the lining and coordinated with the outer fabric.  Unfortunately, until the bag was completely together, I couldn't see the problem.  Next time,  I must remember:  Contrast, NOT coordinate!   So, while the embroidery is technically well done, I deem it a fail.

Terrific overall bag, but the embroidery disappears...sigh.

On to the next project...

Saturday, February 6, 2016

Adorable Baby Coat

My son's friends had a baby last summer...it's a strange thing when you realize your kids are legitimately old enough to have friends who are married with children...I guess that means it is highly unlikely that I am still only 27.  Reality might be setting in...


Anyway, my son's friends had a baby girl last summer and I just made her the most adorable coat.   (I'm a terrible photographer, but trust me, this coat is truly adorable.)   I got the pattern from Etsy.  I really like the indie patterns available for download.  The ones I've found have tended to be terrific and the instructions make them oh so doable, even for a novice.

Too cute for words...I love the texture of the outer fabric.
The outside of the coat is a polyester suiting fabric...the texture makes it substantial without being heavy.

Love this bright, happy cotton print.
The lining is a lightweight quilting cotton.

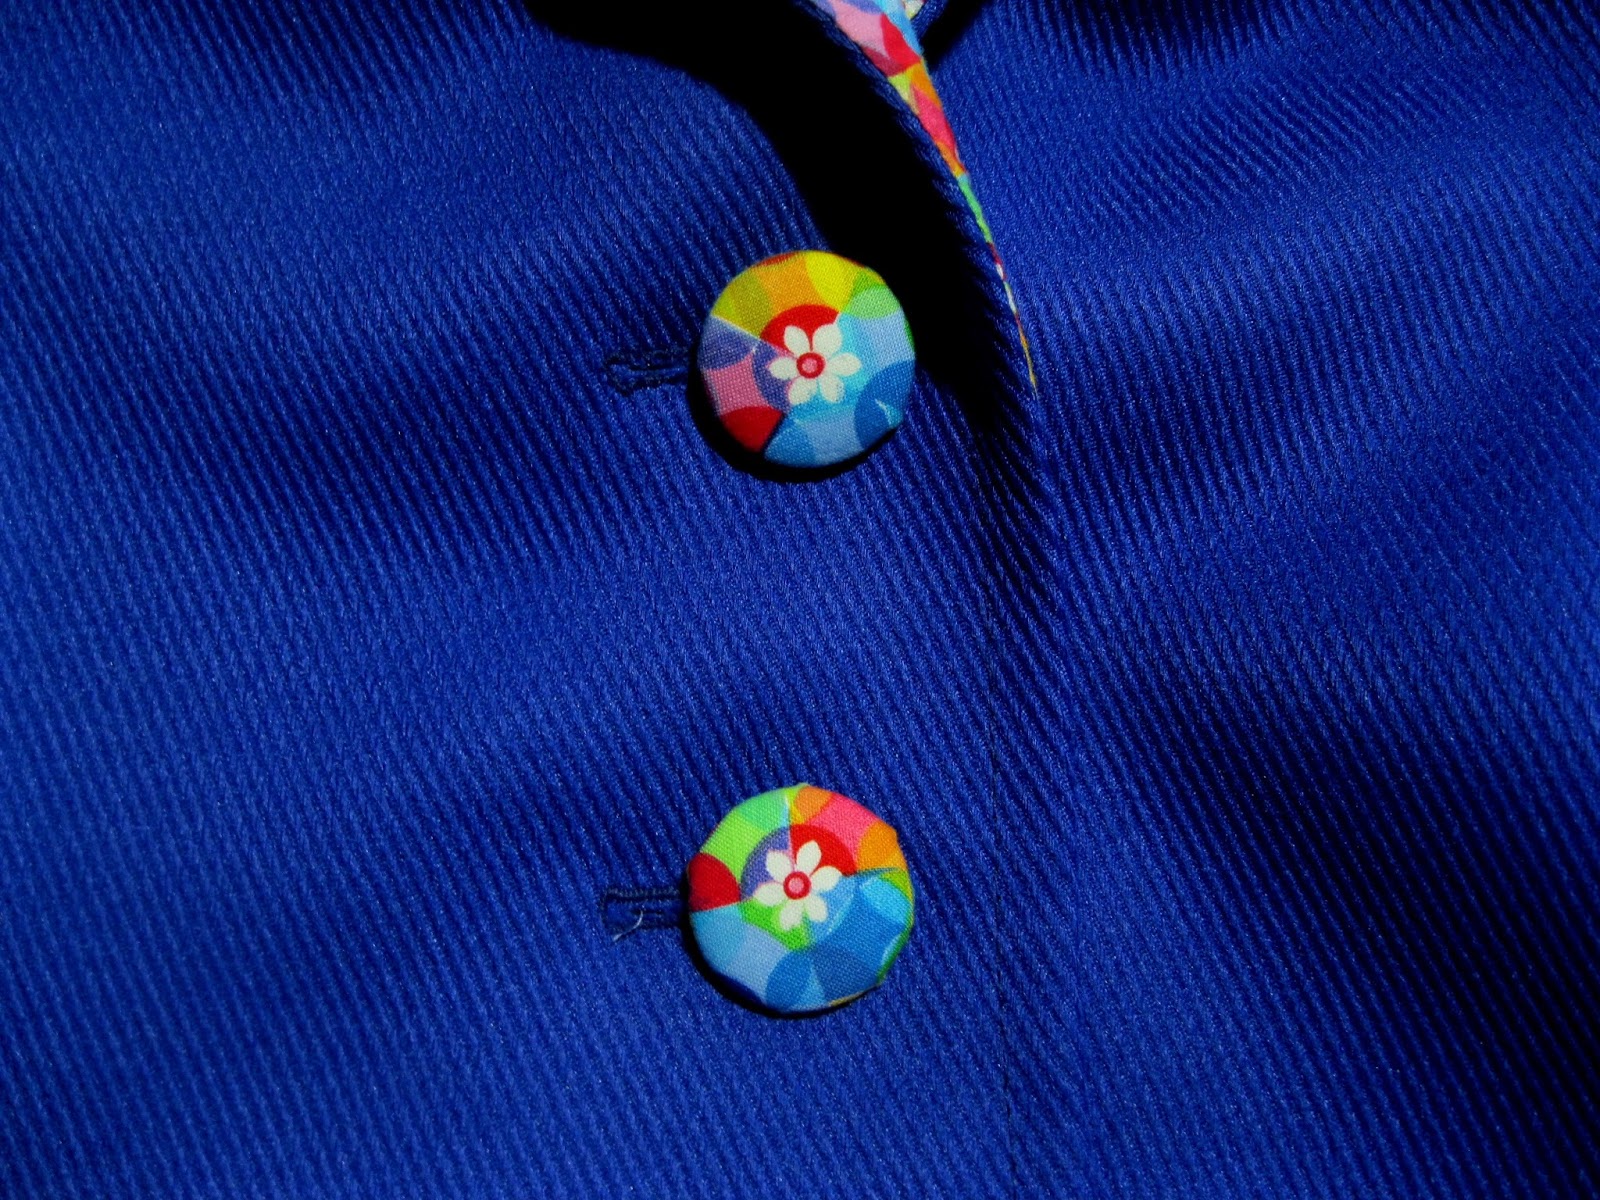
Matching buttons...too cute!

The hood is designed to be folded back to show the lining.
I used the Hearts Hoodie pattern from Puperita. 

My local copy shop binds my PDF patterns for me.  Love the ease of this format!
 
It generously includes sizes from newborn to 5 years old.  Now that I've finished the coat, I can recommend the pattern with confidence.  It really was a breeze to make.  The directions were quite clear and easy to follow and the results were gratifying.

Just what a well-dressed baby needs for spring!
Will a 6-month old baby girl appreciate it?  Nah.  But her mom sure loves it!  Definitely a win.

Wednesday, January 27, 2016

Sleeve Garters-- Perfect for Your Baggy Sweaters

I'm sure we've all seen the images of a bygone era where men wore sleeve garters which looked something like this:


Photo Credit: Western Emporium
These were functional staples of a man's wardrobe, designed to customize the fit of his shirt and protect it from the grime of the day. 
Photo Credit: Norman Rockwell Museum Store


We don't see them often today, although even David Beckham gave them a try.  (Who knew?)   Having said that, this is NOT a post advocating you encourage your husband to adopt them.  Not even close.


It's sweater weather and I love oversized sweaters, but I don't like baggy cuffs and dangling sleeves.  From getting in the way to being a danger when I'm cooking, my sweater sleeves need to be kept off my hands.  Using a pony-tail holder has worked to keep my sleeves up and out of my way in a pinch, but cutting off the circulation in my arms really isn't fun, so I really needed a better alternative . I headed to my computer for inspiration.


Photo Credit: Quaint Street- Ebay
I remembered these bands...my mom had a pair or two in the 80s, and, while I loved the idea, they were too small for my forearms way back then, so they definitely might be a problem now (that whole circulation issue).  Still, I pulled up Amazon and gave them a quick search and you can still buy them here, if you're interested.  When I pulled up those bands, though, the sleeve garters for men came up, too, and an idea was born.


I decided to make my own sleeve garters out of ruffled elastic.  I could customize the length and the color to suit my needs, plus I could do this project really, really inexpensively.  Ruffled elastic comes in many colors at your local Hancock Fabric or any other fabric store.  It runs about $3.00 a package (use a 50% off coupon and it will be even better).  I have a lot of black sweaters, so I made my sleeve garters black to blend in.


 I cut two lengths of elastic each half an inch larger than the circumference of my forearm (where I wanted my sweater cuffs to rest).  Then I sewed the ends together to make a circle and a sleeve garter was born. (Be careful not to twist your elastic...you want your bands to lay flat.)


After that, it was a five minute sewing project (no machine needed if you don't have one!) and I had sleeve garters.

Just slip the garter on the outside of your sweater sleeve and roll it into the cuff as you roll (or one fold and then push!) your sleeves up. 


They stay up all day without cutting off your circulation as long as you measured your elastic correctly.  (Honestly, it was much more difficult to take a picture of my own arm than it was to make the sleeve garters.)

You can use them for any kind of sleeve that you want to keep higher up on your arm...blazers, blouses, sweatshirts.  Super simple problem solver!


Saturday, May 25, 2013

Definitely a "Fashion DON'T" and old enough NOT to care!

I long ago gave up trying to be fashionable, trying to be trendy, trying to be cool.  I have a wardrobe full of clothes I like, that are comfortable (unless my weight has fluctuated too much!), and that look mostly presentable.  Still, that means that I have many articles of clothing that would warrant citations from the Fashion Police...not the least of which would be my collection of overalls.

Me, mowing in a pair of my overalls!
I love my overalls.  Seriously.  I love, love, love my overalls.  If you know me in real life, you know I wear them a lot.  I wear them to do chores, I wear them to work in the yard, I take them camping, I wear them to craft.  I pretty much wear them anywhere.   I know you'll find it difficult to believe, but it is hard to find overalls.  Despite my love of them, they haven't caught on in the mainstream fashion world, so I make do with what I've been able to find over the years. I have five pairs, all of which are 8+ years or older.  

Faded, dingy, old favorites!
My favorite pair overalls is roughly 15-years old and, yesterday, finally showed unmistakable evidence of how much I love them.  I was devastated.  A big old hole right on the butt.  Not on a seam, not easily hidden, and certainly not something I could just keep wearing.  It never occurred to me, however, to toss them.  Nope...not even for a second.  After a moment of hesitation, I decided that patching holes isn't just for kids clothes.  

Isn't this the cutest fabric?  Not exactly understated, though.
I pulled out one of the last little scraps of my favorite vintage owl fabric and got to work.  First, I enlarged a flower silhouette shape on the Silhouette machine.  Then I ironed Wonder Under on the back of my fabric and loaded into the Silhouette on the cutting mat and had the Silhouette cut the shape.  After that, I ironed it onto the section of my overalls and made quick work of using a zig zag stitch to attach the patch firmly to my beloved overalls. 

Look how big that patch is!  No hiding this!
Overalls are definitely a "fashion DON'T" and having a huge flower patch on my butt is probably compounding the violation, but I truly am old enough NOT to care.  In fact, I'm just happy to have my old friends back in wearable condition. 

Holding on to things you shouldn't?  Good for you!

Thursday, May 23, 2013

Teen Birthday Gift...Pinterest to the Rescue!

A few weeks ago, we were invited to join the celebration as a friend's daughter turned sixteen.  While I know the young woman casually, I really don't know her well, so I was stumped as to what to give her to celebrate her big day. 


Pleated Pouch and Hairband...Pinterest to the rescue!
Fortunately, I've been dedicated to actually making some of the things I pin onto Pinterest and my "Sewing Board" came to my rescue.

First, I had this little bag pinned from way back.  The original post is at Charm Stitch via How About Orange.  Her pattern is fabulous and her directions easy to follow.  It was a really quick project. 

 
Little pleated pouch with added wrist handle.
 
 I decided to add a little handle to make it a wristlet and used some contrasting fabric for the lining to make it fun.

Love the bright lining fabric...it makes the green pop, doesn't it?
I love how it turned out.  In fact, I enjoyed the project so much, I headed back to Pinterest and found another quick project I could add to the gift, using the fabric I'd already selected!

Love these hairbands from The Long Thread.  These hairbands are technically reversible, but I chose to use the same fabric on both sides.  My only concern was that the hairband fit the recipient...I used Buttercup as my fit model and it worked out--phew!

Sorry for the terrible photo...I confess I didn't think to take pictures until it
was time to leave for the party!!
 
As always, you just never know when gifting a teenager, but as the evening progressed, the recipient was wearing the hairband, so I took that as a thumbs up! 

I put the hairband in the purse and attached the card with a curly green ribbon.
Really bright and fun and really easy!
Best of all, my Pinterest boards are not just a time suck...I really do use them!  What about you?  Are you making stuff you pin?


Monday, February 4, 2013

An Old Standby Gets An Athletic Update

I've been using this backpack pattern for more than a year now and I just love it.  When I found out our gym was having a gift exchange as part of the Christmas party, I immediately thought of this backpack.  The real problem?  Finding the perfect fabric.  I logged on to Spoonflower, where I sourced this Doctor Who fabric, and found this amazing kettlebell fabric!  Perfect for Crossfitters, wouldn't you say?

Then I headed to Hancock Fabrics, got some coordinating fabric (solid grey, in this case) and made two of these bags...one for someone at our gym and one for my sister!

I love the way this turned out (both times!)
Isn't it cute?  I love it!


Nice big pocket which zips shut.
It is the perfect combination of looks and function, with a zipper pocket on the outside, and it is washable.

See, not nearly as bright as the image would have you think!
Drawstring opening at the top forms the black straps so the straps won't show dirt.  The perfect little backpack!

Wednesday, August 8, 2012

Fabric Bins

I've been needing some more storage in our bathroom and thought fabric bins would be the ideal solution.  Unfortunately, I haven't been able to find bins I like.  While I was at Hancock Fabrics last week, I saw this fabulous fabric and thought it would be perfect.  (It wasn't, but that is a later part of the story.)
I love this fabric...it is so beautiful.
Isn't this fabric beautiful?  I knew it would make beautiful storage bins.

This was the second bin I made...it came together so quickly and easily.
I saw this tutorial for making fabric bins from Make It and Love It and I decided it was actually doable.  Honestly, it turned out to be a little more difficult than "beginner" level, but not so difficult that I was discouraged by it.  Once I'd made the first box (following the super terrific instructions), the second box was a breeze.

This is the larger bin...it is the size the tutorial makes.
It only took two evenings to get the boxes done.  I am really pleased with how they turned out and, once I'd finished the first box, I understood exactly what I needed to do to change the dimensions to suit my space.  Unfortunately, they just didn't look right in the space...darn it.

A different view of the first bin...I didn't put in a label pocket.
That's okay, though, I've already thought of an alternative use for both bins.  Even better, I found another fabric (a completely different style) that I'm getting ready to use for two more fabric bins. 

I just love, love, love this fabric!
So, what else can I do with this fabric?  I love it that much.  I'm racking my brains trying to come up with something I can do with it.  Do you have any ideas?

Monday, June 11, 2012

Cloth Napkins, the cheap (um, frugal) way!


 Years and years ago, I decided a) we were spending way too much on paper napkins (I swear our family of five went through a few packs a week) and b) I shouldn't have stuff in my house I wasn't using, including the cloth napkins I'd somehow inherited from my mom.  (A whole different question was where those originally came from...I never remember them being used in my childhood home.)
Aren't these pretty?
Once the upfront cost of acquiring them is taken care of, cloth napkins are really inexpensive and easy to use.   After each use, the kids just throw the napkins in the washing machine and they get washed along with the normal load. 


My mom's old napkins...they're probably 25 years old, if not more.
Initially, I used the  mismatched napkins I'd inherited, but I eventually supplemented my stash.  I bought these napkins a little more than six years ago and they've served us well, but they're tired looking, wouldn't you say?

My poor napkins...they've served us well for 6 years, but they're tired.
It was more than past time to get new napkins, but even knowing I'd most likely get five or more years out of my napkins, I just couldn't make my self pay anywhere from $2.50 (Target) to $5.00 (World Market) for any of the napkins I liked.  For 12 napkins, I was looking at anywhere from $30 to $60!   Not acceptable to me.  So, I came up with an alternative:  I bought a rectangular table cloth I liked and made my own napkins.  

Target tablecloth...busy enough to hide stains.
I found the tablecloth at Target for $15.99 (I think...maybe it was $16.99.)  At 60 x 80 inches, that allowed for 12 20-inch square napkins, bringing the cost of each napkin down to a much more acceptable $1.33 (or $1.42 if the tablecloth was $16.99). 

Not too shabby for one afternoon's work.
It took me one afternoon to make all twelve napkins.

Look at that mitred corner!  It is perfect!
I even practiced making mitred corners.  Some turned out really well. 

This mitre isn't so well done...still, I'm pleased.
Some didn't turn out so well.  Overall, this was a pretty successful exercise. 

I love this fabric on my dish towel.  Isn't it pretty?
And, if you did the math in your head, you know I ended up with a four inch strip of fabric leftover after making my 20-inch napkins.  I couldn't resist using some of that leftover fabric to embellish a kitchen towel.

Not bad for $16, wouldn't you say?


Tuesday, May 29, 2012

Kids Backpacks!

I can finally show you the backpacks I made for my niece and nephew in California, as I shipped them off Thursday via Priority Mail, so the recipients have got to have them by now.  These are a quick and easy project and the result is a kid-friendly, soft-sided backpack that is oh-so-washable.  I love that the backpack stays closed while being worn and that there is a good-sized outside pocket.  I used Kwik Sew 2379 (view C) and these are the 3rd and 4th time I've made this backpack and I still love how it turns out.
Two backpacks, plus to little zippered pouches...

Still, judge for yourself:
Boy stuff!
  My nephew got this cute little superhero version.

Love the lining, don't you?
I added a little zipper closure keychain bag in the same fabrics.  (Kids love little pouches and bags for their important "stuff".)

Love the mango lining...it is so cute in real life.
My niece got this very girly Hawaiian print, with the coordinating lining.   It is sooo pink!

Love the white vinyl and cording...
I made a little zippered keychain bag for her, too.

Better view of the little pouches.
I am so pleased with how these both turned out.  I hope the kids get a lot of pleasure from them.